
Review Contents
Introduction: Key Factors for a Successful Harvest
Aspect 1: Choosing Your Grow Location
Aspect 2: The Role of Lighting
Aspect 3: The Importance of Your Growing Medium
Aspect 4: Proper Nutrient Selection
Aspect 5: Choosing Genetics (Seeds or Clones)
Aspect 6: The Seed Germination Process
Aspect 7: Vegetative Stage – Plant Formation
Aspect 8: Flowering Stage – Bud Development
Aspect 9: Harvesting Your Cannabis
Aspect 10: Drying and Curing Buds
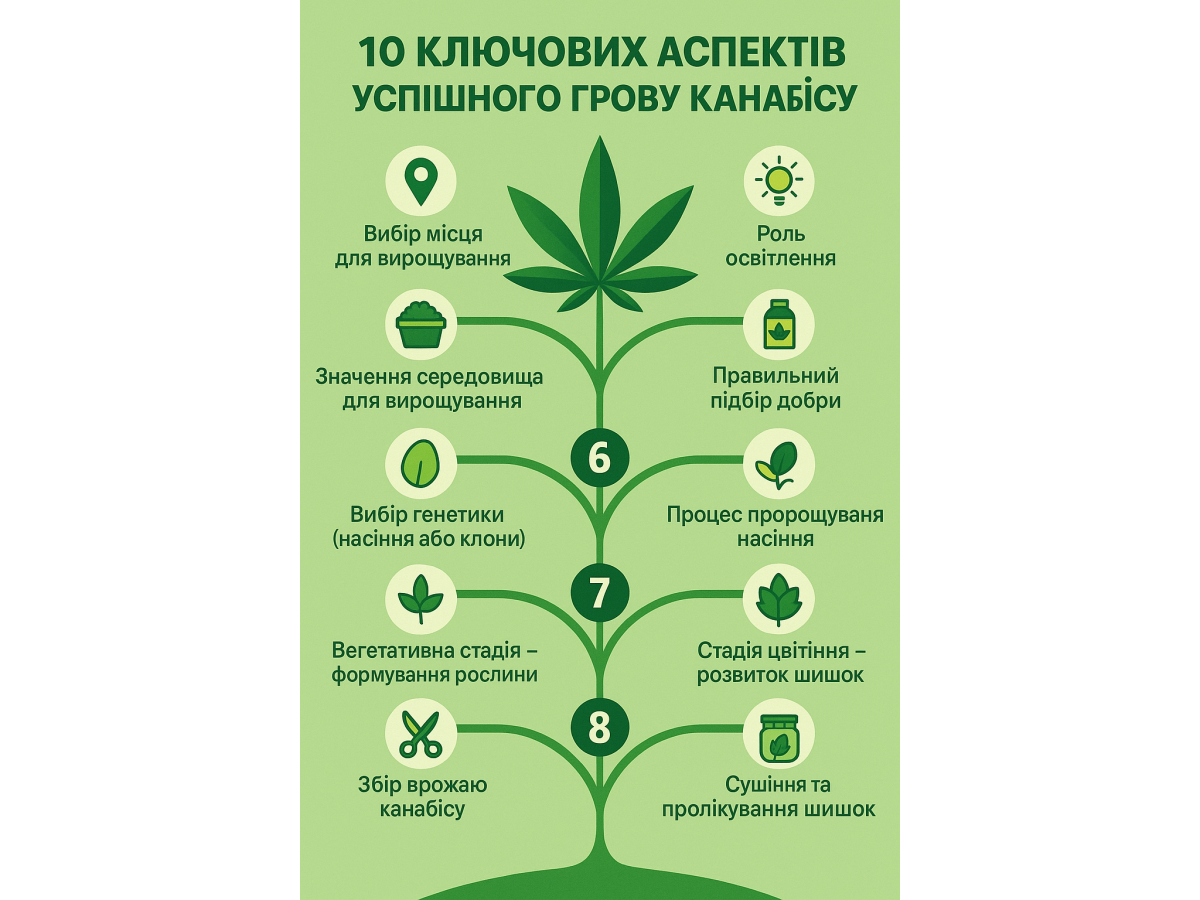
Cannabis Growing Basics:
10 Most Important Aspects for a Great Harvest!
Cannabis legalization is spreading like wildfire across the US, Canada, and many other countries worldwide. For many people, this means the opportunity to legally grow their own supply of cannabis!
Interested in growing your own weed at home?
Growing cannabis may seem complex, but often that's just because information is presented in fragments. Many people unintentionally overcomplicate the process, but this can be avoided!
This overview reveals the key points that will help you find the best growing approach for your unique situation.
Choose a growing style according to…
- Your grow space
- Your budget
- Your desired yield
Growing cannabis is actually quite simple, and almost anyone with a few spare minutes a day and a free closet or backyard garden can grow their own professional-quality buds at home.
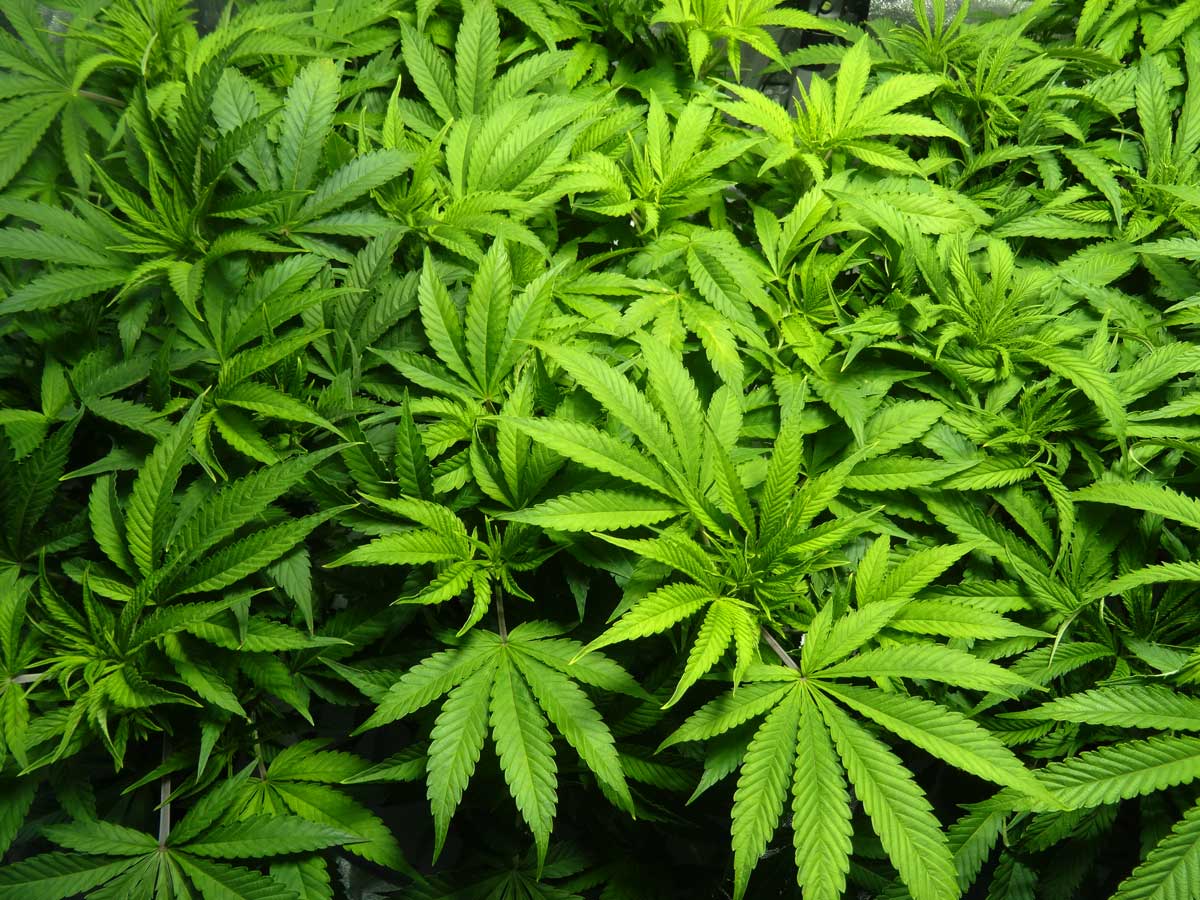
What does a cannabis plant need to thrive?
For every cannabis plant to thrive and grow, it needs:
- Light – whether using sunlight or grow lights, you need to understand the light needs of cannabis to get the best bud quality and yield.
- Growing Medium – what your plants grow in; soil isn't the only choice!
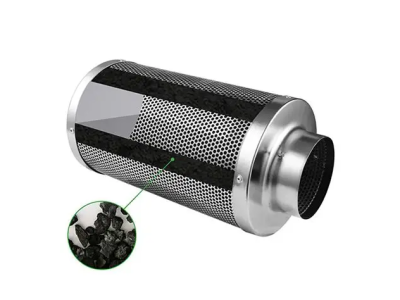
- Air – a well-ventilated area with good air circulation and a gentle breeze is best.
- Temperature – a good rule for cannabis: if you feel too hot, your plants probably do too. Like humans, cannabis plants can die from extreme temperatures.
- Nutrients – you can buy ready-made fertilizers that you simply add to water, or create your own super soil that will already contain all the necessary nutrients.
- Water – like all plants and living things, cannabis needs water to survive and grow. Is my tap water good enough for growing cannabis?
When growing cannabis indoors or outdoors, it's important to provide the proper amount of these 6 resources.
How long does it take to grow cannabis?
If you plant a cannabis seed today, when is the earliest you can smoke your harvest? Probably around 2 months with a fast-flowering autoflowering strain. (Learn how to get to harvest as fast as possible!)
Indoor growing is usually shorter than outdoor, as you have more control over when the plant starts to flower. Autoflowering strains also grow very quickly. But with short cycles, you usually get smaller yields. Some strains and outdoor growing can take up to 7 months or more.
On average, you can say that it takes a grower about 3–5 months to grow, harvest, and have ready-to-smoke buds in their hands.
Learn more about how long it takes to grow cannabis.
3 Common Cannabis Growing Mistakes to Avoid!
- Random Experiments – One of the most common beginner mistakes is performing spontaneous experiments that harm or even kill their plants. It's always worth taking a moment to research an idea before trying it. Fortunately, when it comes to growing cannabis, it's very likely someone else has already tried it!
- Skipping Important Steps – Another common problem for beginners is the tendency to skip key points, such as understanding light schedules, or why root pH levels are important to avoid nutrient deficiencies. While you might get lucky and grow weed without this, it's much more likely you'll get sick plants or low yields. It's important to consider all aspects listed in this overview – a quality harvest is worth it!
- Abandoning Proven Methods – Don't reinvent the wheel! If you follow the recommendations in this overview, the result will be excellent. Yes, even if it's your first time and you've never grown plants in your life. You can learn from the mistakes of other growers and avoid repeating them. And, of course, don't be afraid to seek information or ask fellow growers.
10 Key Aspects in Cannabis Cultivation
- Aspect 1: Choosing Your Location
- Aspect 2: Choosing Your Lighting
- Aspect 3: Choosing Your Growing Medium
- Aspect 4: Determining Your Feeding Schedule
- Aspect 5: Sourcing Your Cannabis Plants
- Aspect 6: Germinating Seeds... The Start of Life!
- Aspect 7: Vegetative Stage – Growing a Strong Plant
- Aspect 8: Flowering Stage – Buds Start Growing!
- Aspect 9: Harvesting Your Cannabis
- Aspect 10: Professional Drying and Curing Buds
Aspect 1: Choosing Your Grow Location (Indoors or Outdoors)
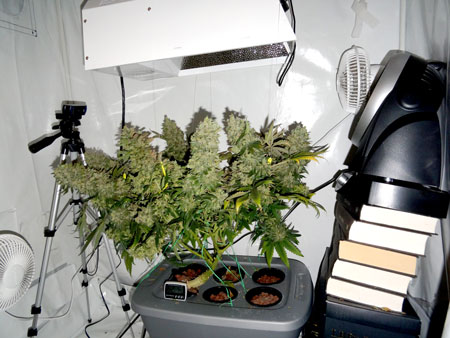
Indoor growing is much more private than outdoor, and gives you more control over the process.
Starting and maintaining an indoor cannabis grow can be surprisingly inexpensive, especially if you plan to grow just a few plants.

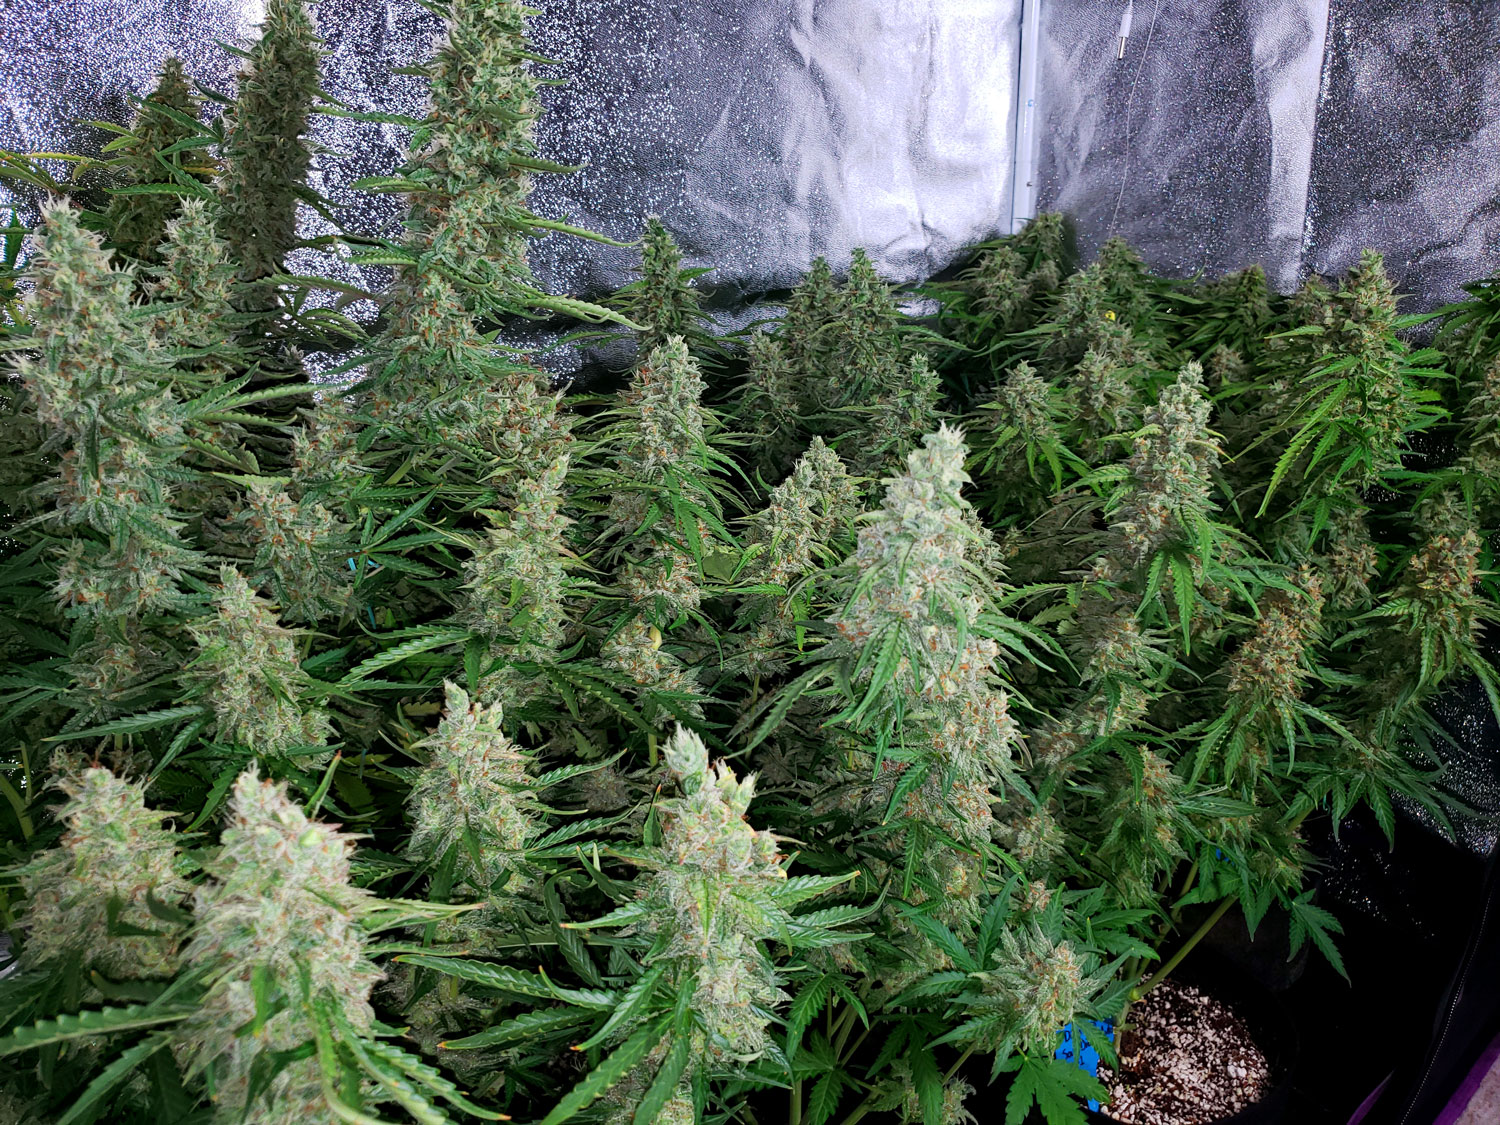
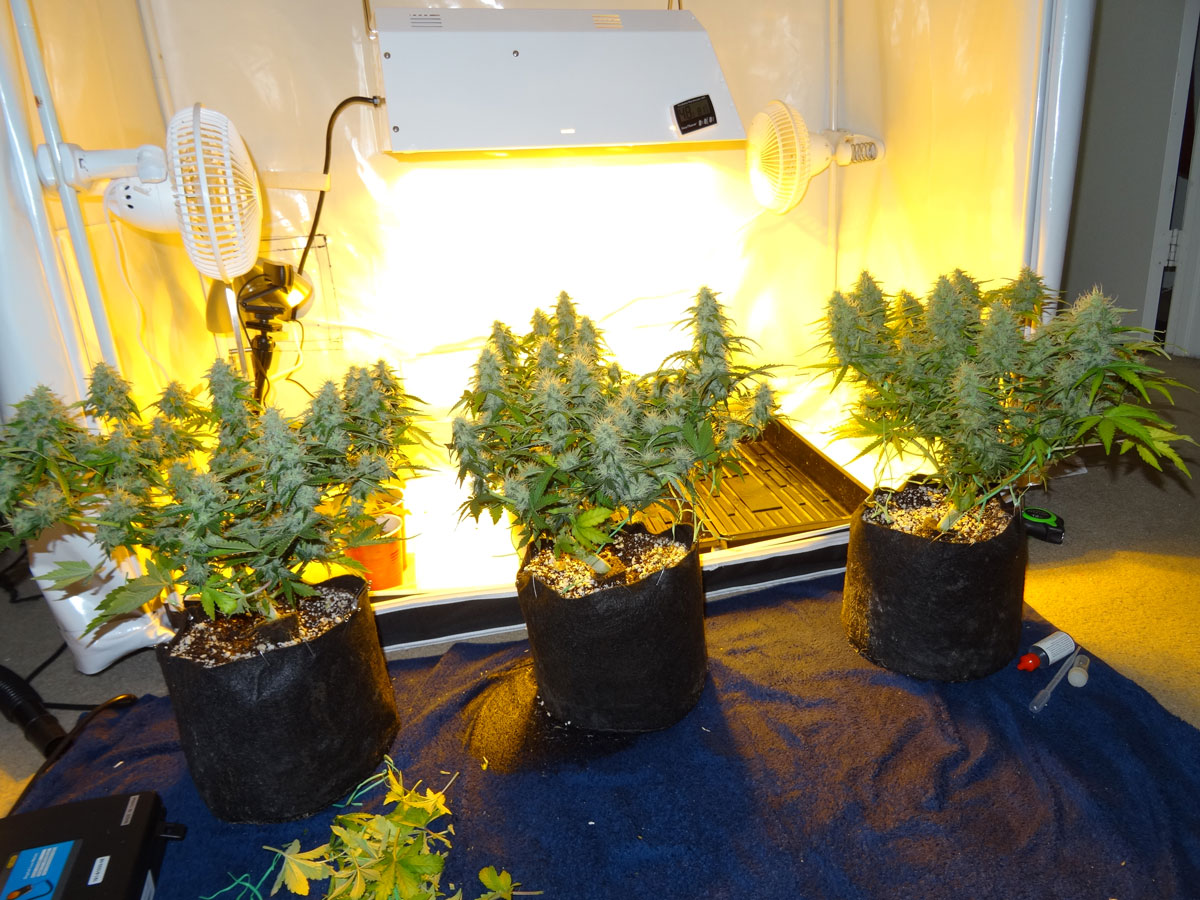
By looking at some completed indoor cannabis grow journals and personal grow journals, you can understand how much yield to expect from various indoor systems. For example, in this recent journal, a 200-watt Spider Farmer LED light yielded 302.3 grams (over 10 ounces) of dried and cured cannabis.
Indoors, you have more control over everything, which means indoor growers can consistently produce top-shelf buds. However, this superpower comes with greater responsibility. Plants are 100% dependent on your care. If you don't provide everything they need, they will die.
What space is best for growing cannabis?
Cannabis can be grown almost anywhere with easy access to water and fresh air…
- a spare room
- a closet
- a garage
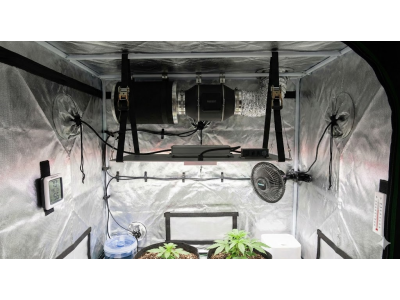
- a grow tent – highly recommended! (a grow tent makes life easier)
- an extra bathroom
- even inside a computer case!
(though for "micro-grows" a Space Bucket is better)
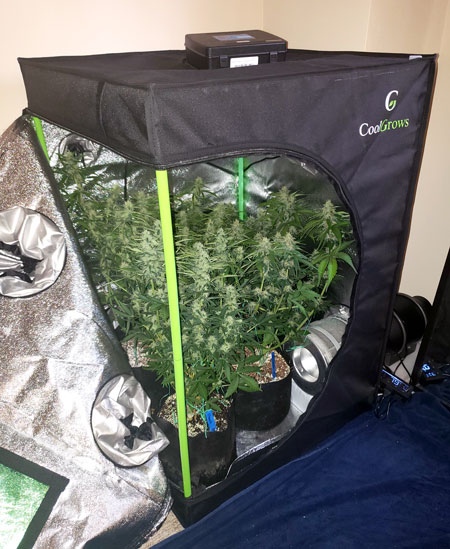
A grow tent is ideal for cultivating cannabis, and a small grow tent can fit almost anywhere.
When choosing an indoor spot, it's important to consider temperature, and remember that the temperature will rise when the grow lights are on!.
 Young cannabis plants grow fastest when the temperature is slightly higher, in the range of 20-30°C (70-85°F).
When plants are a bit older, in the flowering stage, it's better to keep the temperature a little cooler, around 18-26°C (65-80°F), to get buds with better color, trichome production, and smell.
Since temperature is so important, it's best to have some control over it. When growing indoors, grow lights will emit heat. Usually, the more powerful the lights, the more heat they produce. A small 100-watt LED light may not create much heat, but a large 600-watt light can raise the room temperature by several degrees if you don't vent the heat.
If you plan to install many bright lights in a small space, you might need air conditioning in addition to an exhaust system to keep the temperature in the right range.
Some lights don't produce much heat. If growing only a few plants in a grow tent or box, you can use a fan to vent hot air from the lights into the room (or out a window).
Choosing the right grow light for your space is covered in Aspect 2.
Starting an outdoor grow costs much less, as you don't need grow lights or to create an indoor space. However, you have to worry about privacy/discretion, possible pollination, plant theft, insects, deer, and other unexpected visitors.
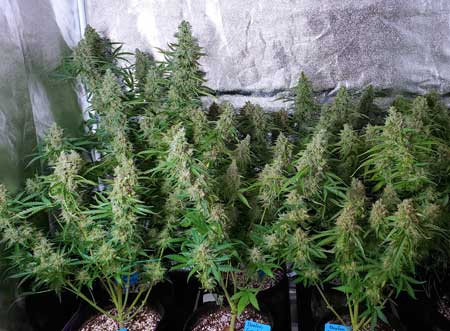
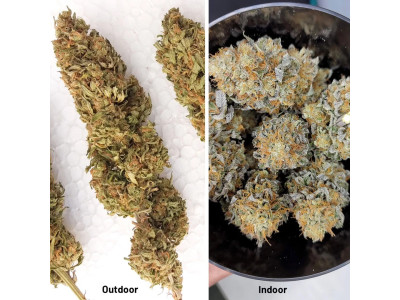
Take a look at these autoflowering plants outdoors from Raymond, one of our students from Home Grow Masterclass.
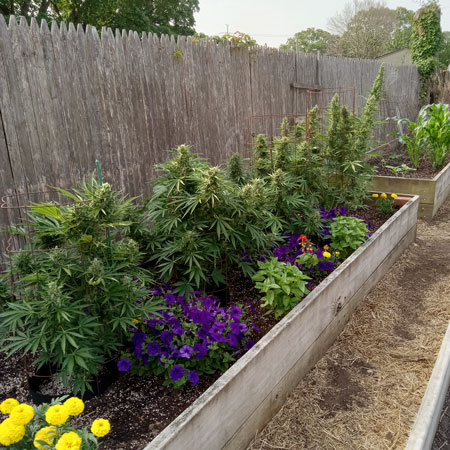
However, if you choose the right strain and live in a good climate, outdoor growing can be much cheaper. This is because outdoors, you don't have to provide everything for the plants. The sun will do most of the most expensive work, providing a free grow light.
Of course, when growing outdoors, it's not always possible to perfectly control the environment. If it's dry, you need to water the plants more often. If it's too rainy, you need to protect the plants from overwatering. Wind, insects, and animals can cause problems, and you have no control over the temperature.
As for temperatures, a good rule about cannabis: if you feel too hot, your plants probably do too. And just like humans, cannabis plants can die from freezing or excessively high temperatures.
Therefore, if it's known that your region will experience extremely hot or cold weather, you may need to take extra steps to protect your plants from the elements, such as setting up a small greenhouse.
Learn more about the difference between growing cannabis indoors and outdoors.
Aspect 2: The Role of Lighting – What Light Do You Need for Successful Growing?
There are many different types of grow lights for cannabis, in particular:
3 best types of lighting for cultivating cannabis
- Sunlight – a free, powerful light source for outdoor growers.
- Large Bulb HID Lamps – high intensity, but very hot, require ventilation.
- LED Grow Lights – the best option for most indoor growers, energy-efficient and effective.
Unsuccessful lighting options (avoid)
When growing with sunlight, you need to ensure plants receive at least 8+ hours of direct sunlight daily for best results.
Ideally, plants should receive direct sunlight from at least 10 AM to 4 PM, and more light is better. Due to cannabis's high light requirements, it's not well suited for windowsill growing. Although many growers start by sprouting seeds on sunny windowsills before moving plants to a more suitable final location.
Learn how to grow cannabis outdoors.

Metal Halide (MH) and High-Pressure Sodium (HPS) Lamps
Most commonly referred to simply as HPS lamps. MH/HPS grow lights are a type of "HID" lamp ("High Intensity Discharge"). Along with LED, this is the most common type of light, especially for commercial growers in cool climates. MH/HPS lamps are surprisingly cheap, especially considering their power. For example, a 600-watt HPS lamp costs less than $200 and can yield up to 900g of weed. This is cheaper than a comparable LED lamp to start with.
HID lamps are very good for growing cannabis, but they get hotter than LEDs and consume a lot of electricity. Electricity and cooling costs are higher over time. Also, they are currently usually only available in large sizes (600W or 1000W), intended for commercial growers.
Previously, HPS lamps were available in small sizes that didn't get too hot.
But now, HPS lamps are mostly available only in "extra large" size.

LEC (Light Emitting Ceramic) is a brand name for CMH (Ceramic Metal Halide) type lamps. CMH lamps are HID, which means they are hot. Although they are very hot, they have positive features. LECs have a natural light color, making them easier to manage. They produce significant levels of UV light, which increases trichome production on buds, making them a good choice for extract manufacturing. Plants grow quickly under 315-watt LECs and yield impressive harvests.

LED Grow Lights – Best choice for most indoor growers!
Modern LEDs are top-tier grow lights for indoor cultivation. They are extremely energy-efficient and provide excellent yields, bud density, and potency. LEDs consume less electricity and emit less heat. They are also easy to use. In comparative tests, LEDs often produce buds with higher THC content. So, LEDs grow the most potent buds!
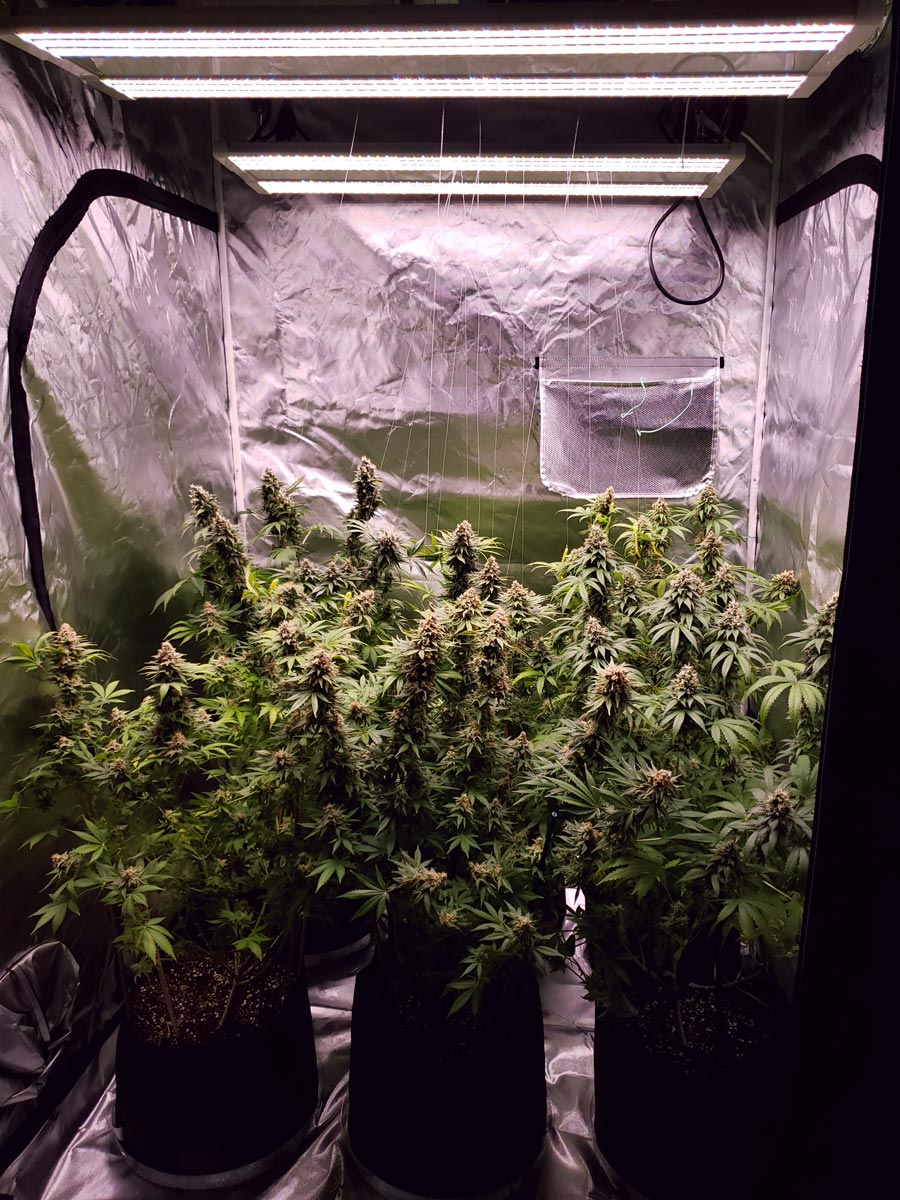
LEDs are cool for growing weed! Take a look at our student Sandra from our Home Grow Masterclass, who grew these incredible cannabis plants with a 300-watt Mars Hydro TSL2000 LED.
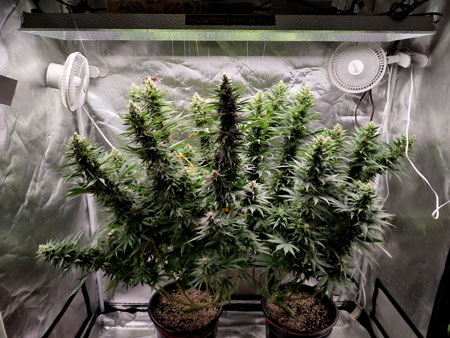
LED grow light technology for cannabis growers continues to improve. Manufacturers are constantly tuning their lights, leading to faster growth and larger yields. This is especially true for cannabis-focused companies like HLG, Mars Hydro, and Spider Farmer.
Each LED model is different and should be placed at a different distance from the plants. When in doubt, it's always best to ask the manufacturer how far the lights should be.

Don't know which type of lighting to choose? Focus on your desired yield and initial costs…
60x60 cm Grow Tent – Small
- 100W – SF-1000 LED Grow Light
- 50-110 g per harvest
- Starting from $430
60x120 cm Grow Tent – Medium
- 200W – SF-2000 LED grow light
- 140-300 g per harvest
- Starting from $555
90x90 cm Grow Tent – Medium
- 300W LED – Mars Hydro FC-E3000
- 200-370 g per harvest
- Starting from $475 with FC-E3000
120x120 cm Grow Tent – Large
- HLG Blackbird 600W LED grow light
- 300-620 g per harvest
- Starting from $995
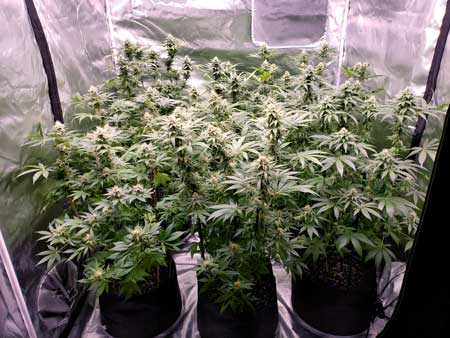
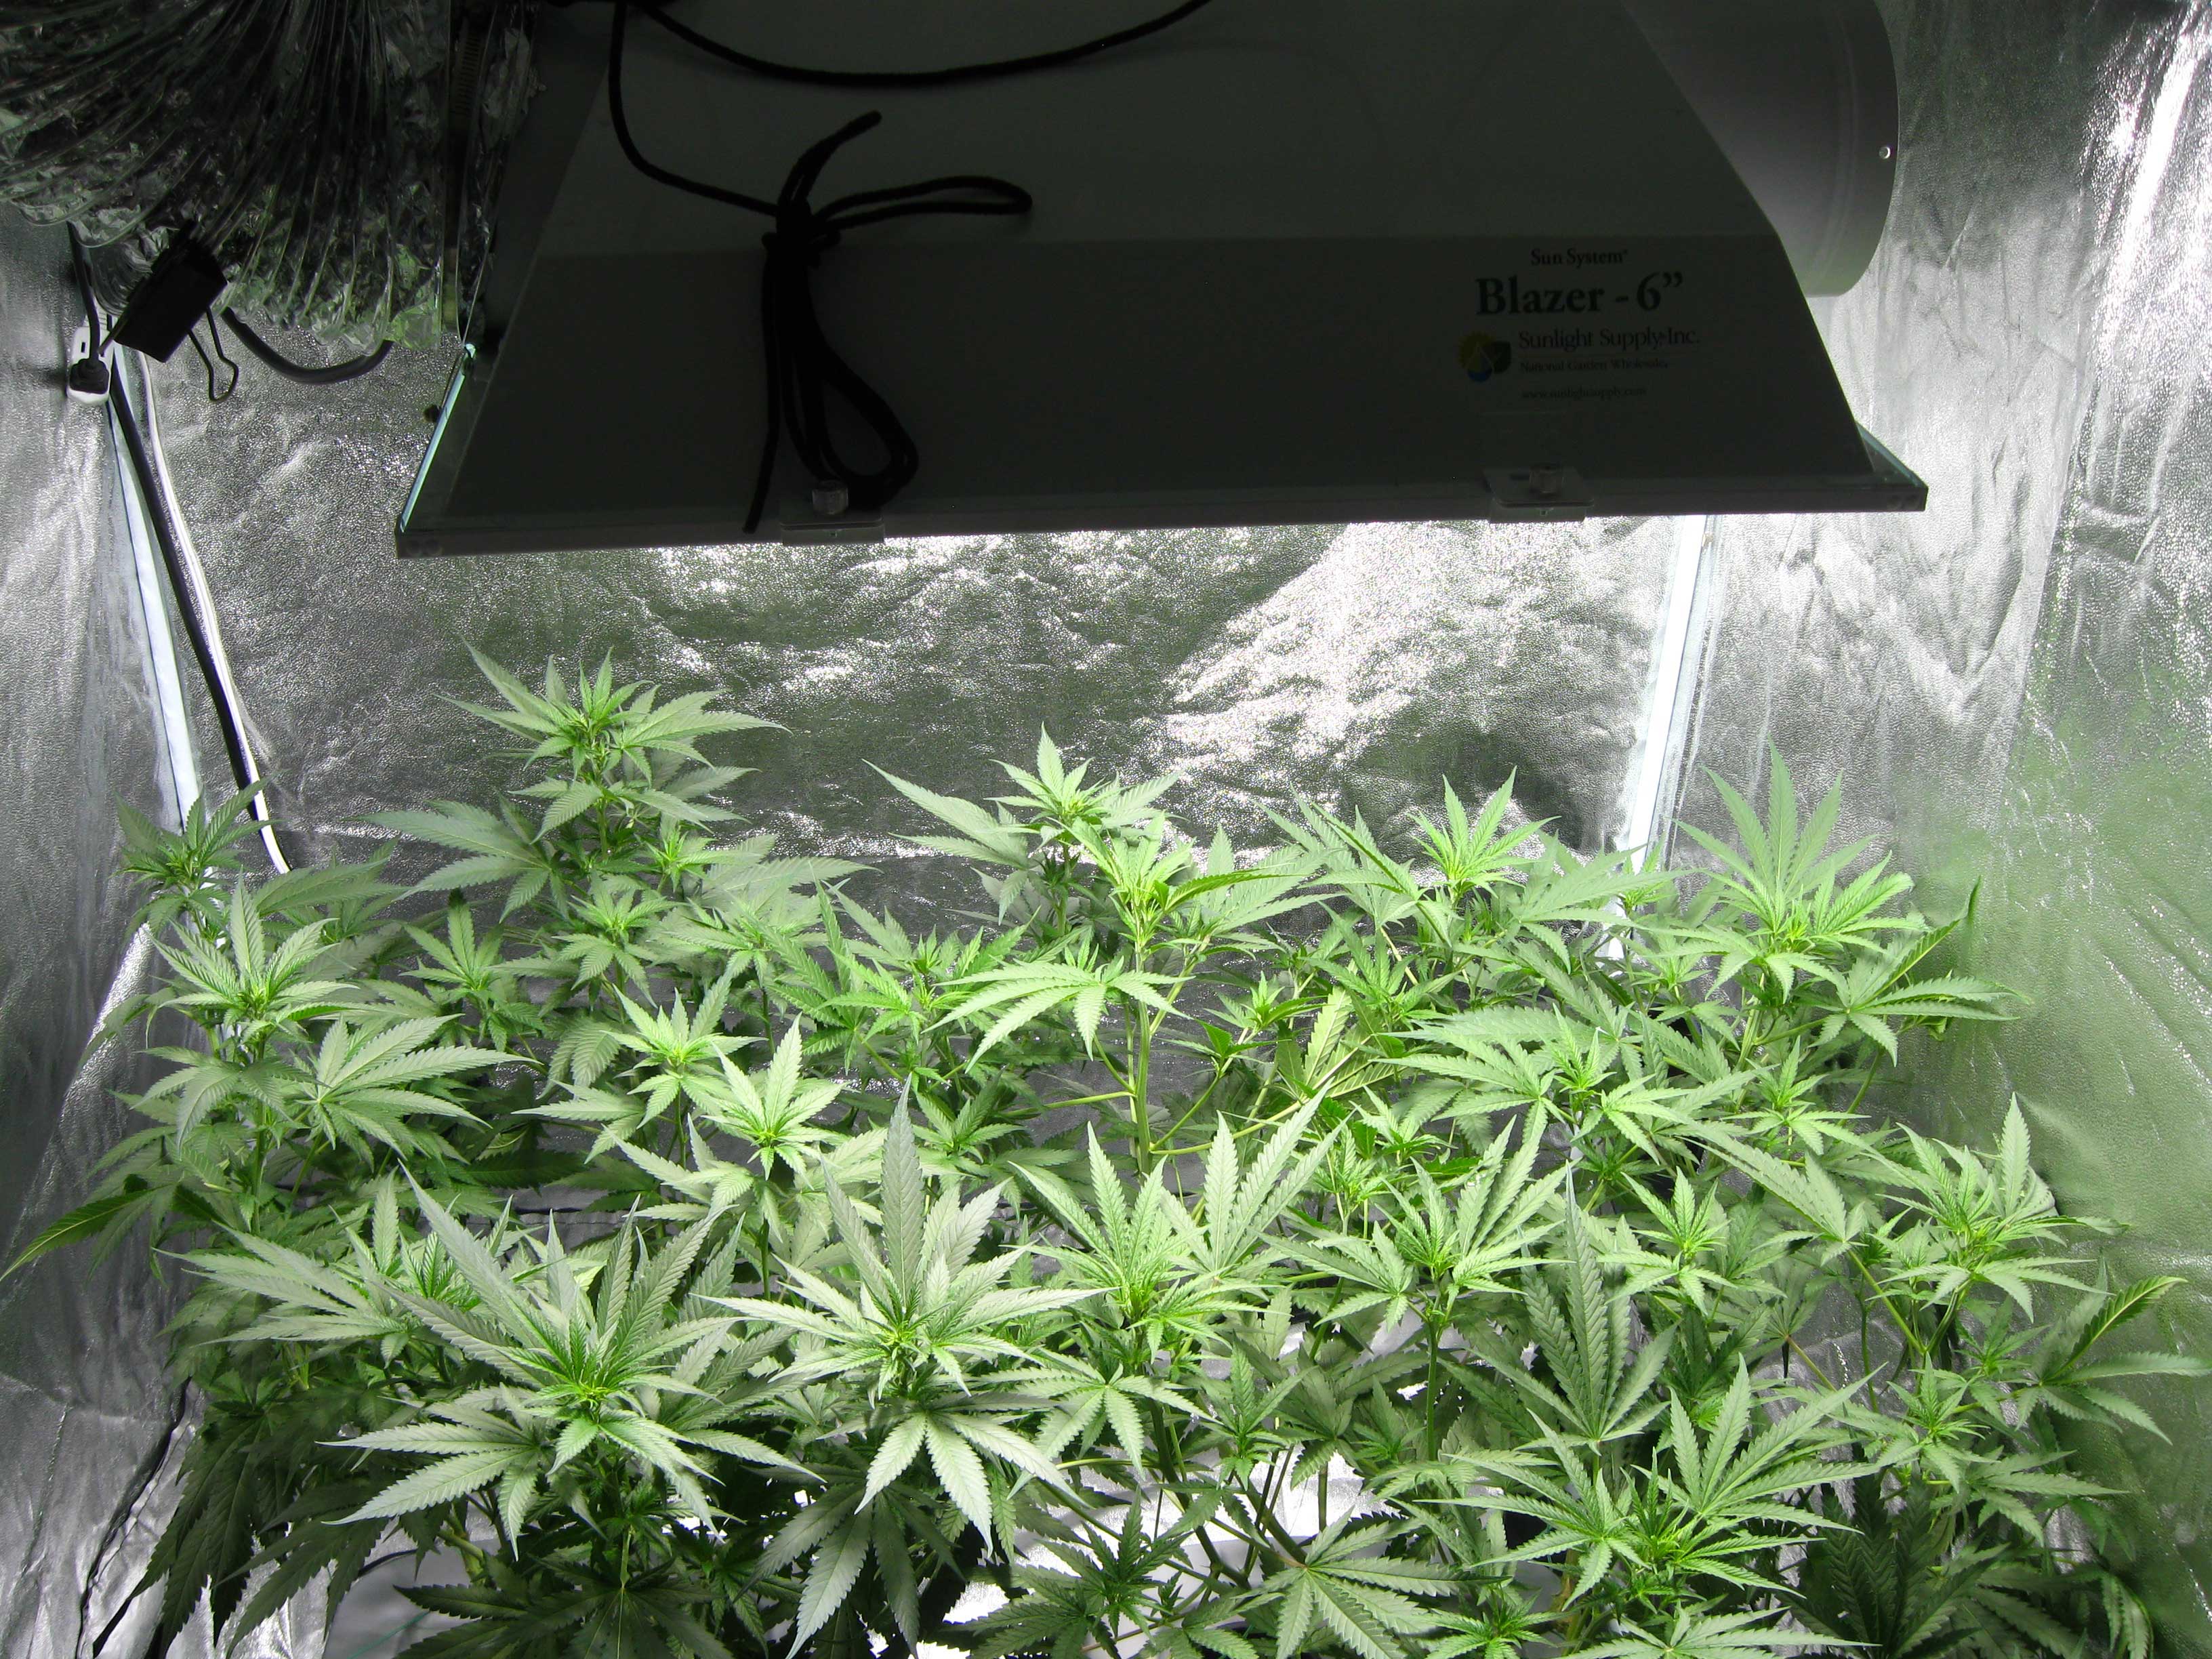
Example of a 120x120 cm grow tent (this size can easily yield 450+g of weed).
Unsuccessful lighting options (avoid them!)
Household Lighting: CFL and household LED
These are not good choices for growing marijuana. They are not designed for plants. It's better to buy a small 100-watt cannabis-friendly LED light that can yield up to 100g of quality buds, rather than spending money on inefficient household solutions.
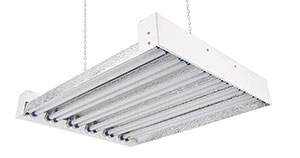
These lamps are designed for seedlings and plants with low light requirements. LED lamps provide significantly better results in all respects: less heat, higher bud density and potency, and greater yield per watt. Learn more about growing cannabis with fluorescent lighting.
Summary: A specialized LED lamp for cannabis is much better for growing weed than household bulbs or fluorescent lamps. Even a small 100-watt LED lamp will yield significantly better results.
Aspect 3: The Importance of the Growing Medium (Substrate)
Each growing medium has its own care and watering requirements.

These are the most common growing media:
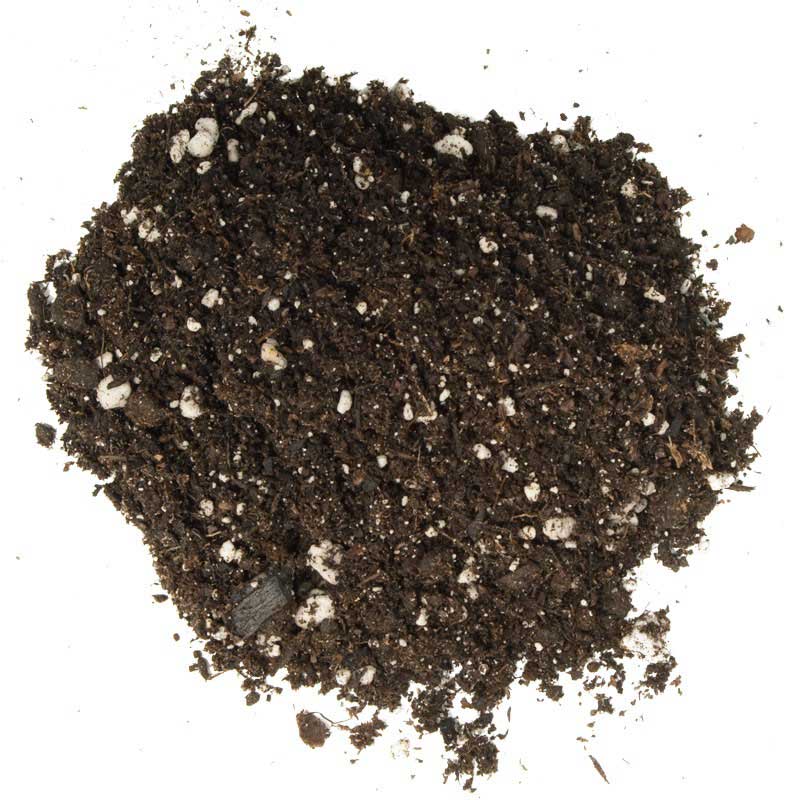
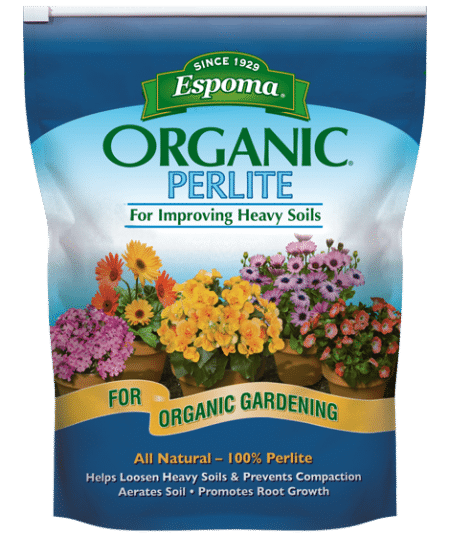
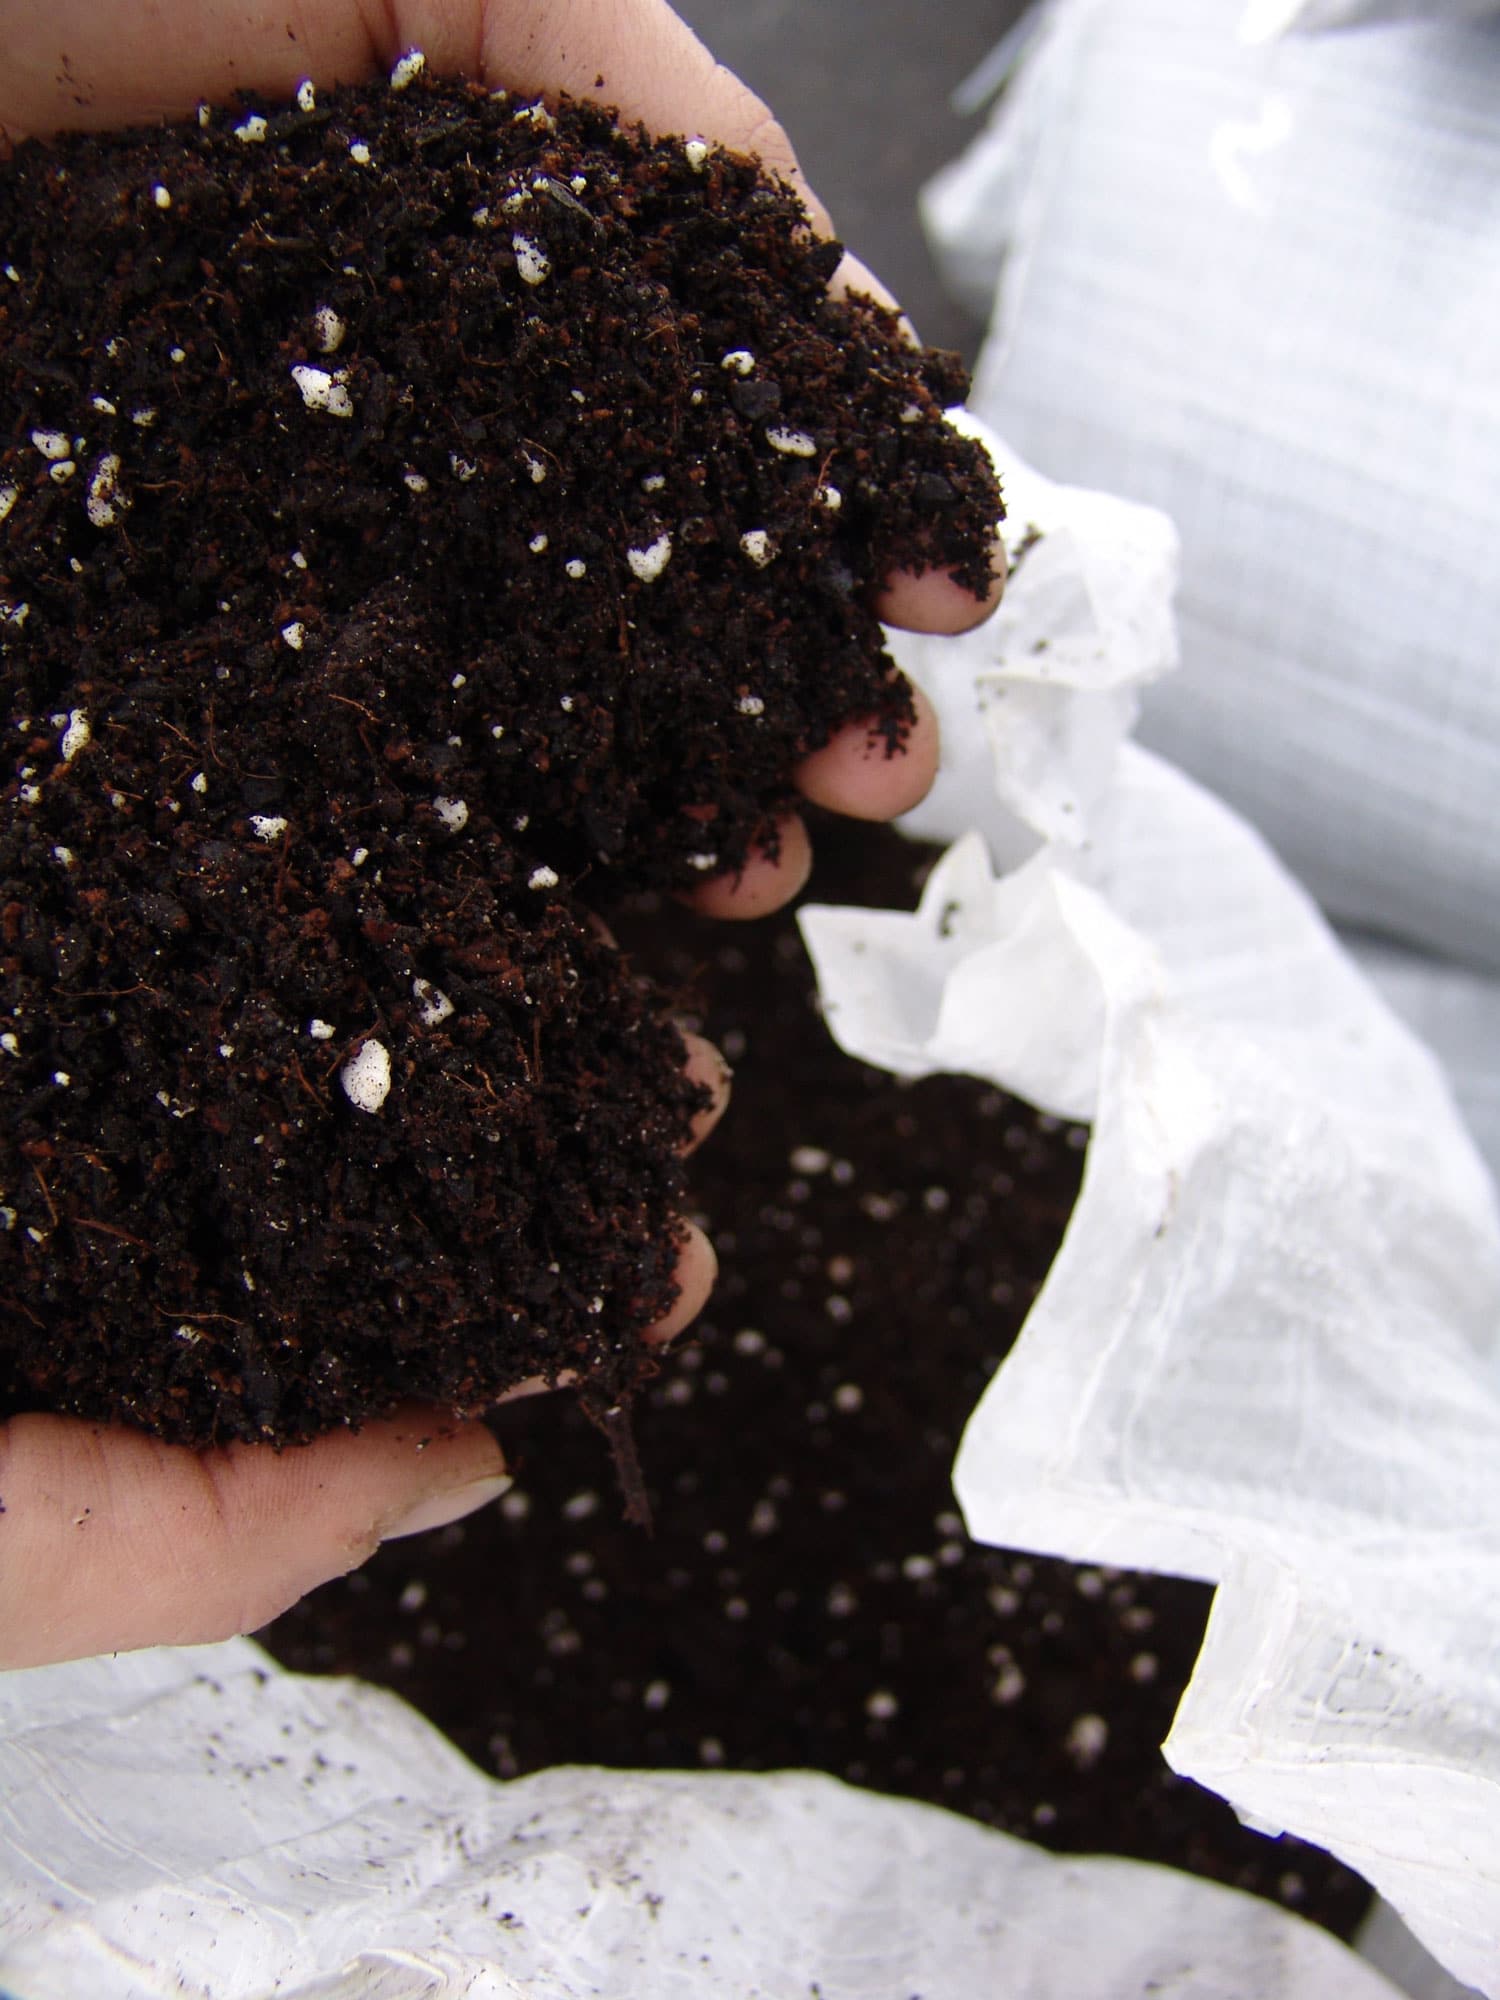
- Regular Soil – Most "organic potting mixes" from a garden store will work. They should be loose and contain "perlite." A popular choice is Fox Farms Ocean Forest (FFOF), which contains nutrients for the first 4-6 weeks.
- Super Soil – Adding concentrated organic compost to the soil provides slow-release nutrients, so you won't need to add fertilizers to your water. Learn more about Super Soil.
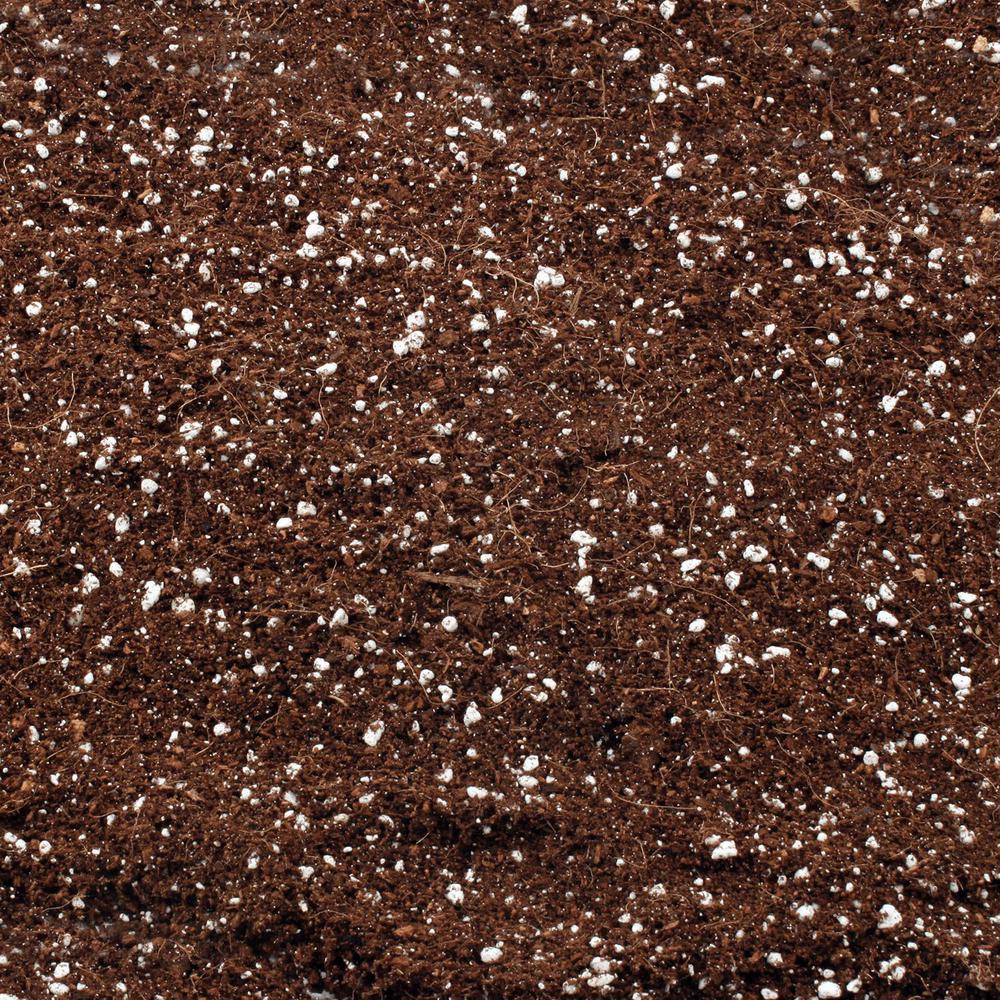
- Soilless Mix – Usually Coco Coir with 30% perlite. Plants in coco grow faster, but nutrients need to be added to water from the start.
- Directly in Water / Hydroponics – Provides one of the fastest growth rates. However, it can be complex for beginners. Here's how to grow cannabis in hydroponics successfully.
Example of good soil for cannabis (this is Fox Farms Ocean Forest).
Example of a good coco coir mix – 70% coco and 30% perlite (this is Cultivation Nation 70/30).
A cannabis plant growing in hydroponics.
Which Growing Medium is Best for Cannabis?
The best option is to make your own composted soil or buy "hot" compost. For those who prefer ready-made mixes, Fox Farms Ocean Forest is recommended. If options are limited, any organic potting mix with good cannabis nutrients will work.
Adding perlite (about 30%) improves soil drainage.
If unsure about the medium, a mix of coco coir and perlite is a great option to start with. It's easy and requires no complicated care.
What about hydroponics? Although it's considered complex, many growers achieve success on their first try. If you are passionate about hydroponics and do your research, there's no reason why you shouldn't succeed. Read the guide to bubbleponics.
Learn more about different cannabis growing media here.
Aspect 4: Proper Nutrient Selection
For soil – With Super Soil, nutrients are almost unnecessary. In regular soil, you should use cannabis nutrients, especially during the flowering stage.
For soilless and hydroponic systems – You need hydroponic nutrients. For example, General Hydroponics Nutrient Trio – here's a guide on how to use it.
A universal solution...
One of the simplest nutrient systems for beginners is Dyna-Gro Superthrive Grow + Bloom.
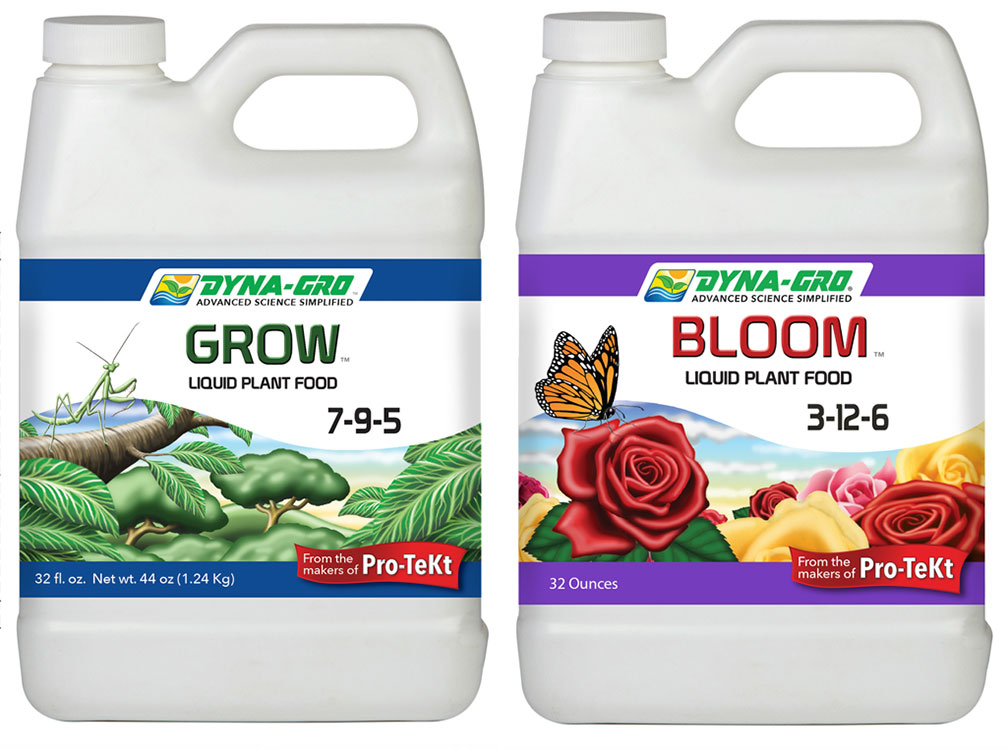 Dyna-Gro is used at a ratio of 1 teaspoon per gallon of water in any medium. The "Grow" bottle is used during vegetative growth, and "Bloom" during flowering. It's extremely simple.
How much fertilizer to give plants
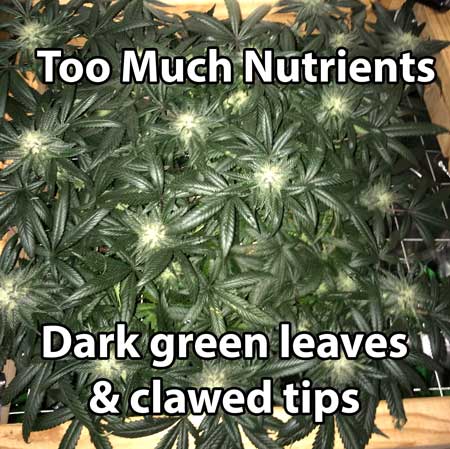
Most nutrient systems have a schedule. Always start with 1/4 - 1/2 dose for seedlings to avoid burn. Gradually increase the dose if the plant looks pale, and decrease if the leaves are dark green or have burnt tips.
Learn more about cannabis nutrient systems.
Healthy green color vs. nutrient need – leaf color indicates whether the dose needs adjustment.

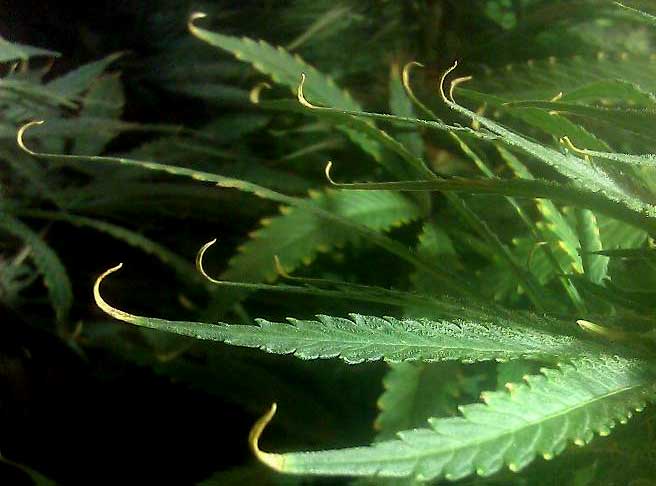
Too many nutrients – leaves look dark green, tips might curl.
Nutrient burn – leaf tips turn brown and dry. Is this nutrient burn or something else?
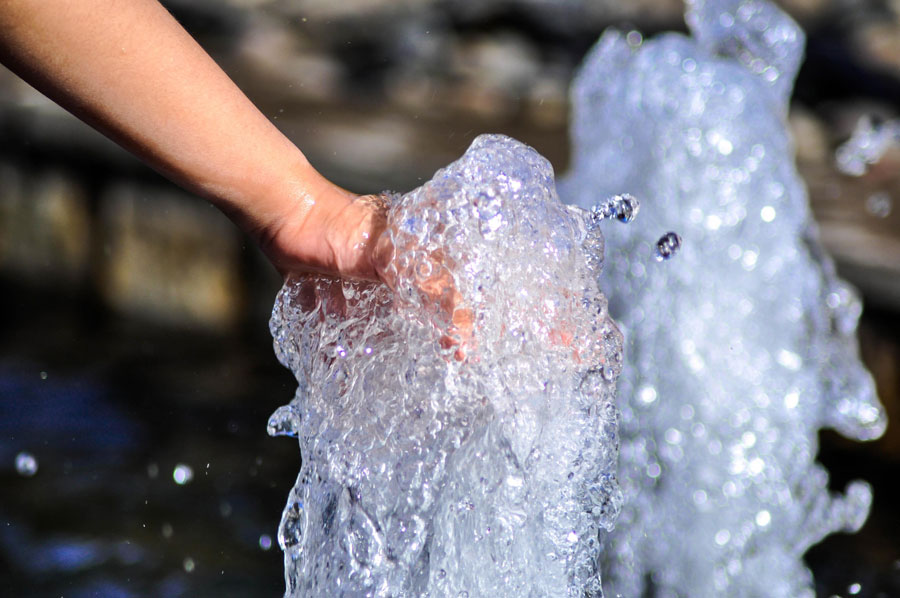
Is tap water good enough for growing cannabis?
Most growers can use tap water. Problems arise if the water is very hard (PPM above 200-300). You can check PPM at home. If the water quality is poor, it's better to use purified or spring water, adding Cal-Mag.
Summary: Tap water is generally suitable. If you buy water, choose "spring" water.
Aspect 4B: Nutrients, continued: The Importance of Root Zone pH
It's important to maintain the pH of the root medium for proper nutrient absorption.

The easiest way is to check the pH of the water before each watering.
The exception is growing in organic Super Soil. In all other cases, checking and maintaining pH is MANDATORY.
If the root pH is too high or low, plants will not be able to absorb nutrients.
Even with all nutrients present, incorrect pH blocks their absorption. This is especially critical during the flowering stage.
Checking and adjusting pH using "pH test kits" takes only a few minutes.
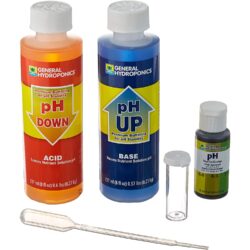
Soil: Maintain pH 6.0 – 7.0
Hydroponics: Maintain pH 5.5 – 6.5
Exact pH adherence is not as important as regular checking and keeping it within these ranges.
Click here to learn more about pH testing.
Leaves stay green and healthy when water pH is under control.
Aspect 5: Choosing Your Genetics (Seeds or Clones)
For growers who know other growers, obtaining plants is simple. Many dispensaries sell clones or seeds. The advantage of buying from a reliable source is assurance of genetic quality.
If you don't know any growers, the best option is to buy seeds online from a breeder or seed bank. In many countries, this is reliable and safe. Learn more about safety measures when ordering seeds online.
Seeds – Today, you can buy almost any strain online. Seeds store well for a long time and allow you to try new strains. List of trusted suppliers: https://www.growweedeasy.com/seeds
Clones – A clone is a living cutting. You can buy them or get them from acquaintances. Disadvantage – risk of insects or diseases, and they need to be planted immediately.
Seeds are great for beginners. They are simple, predictable, and don't bring pests. Some strains, like autoflowering, are only available as seeds.
Nevertheless, cloning cannabis is easy. Learn how to make your own clones.
You might be interested…
Aspect 6: The Seed Germination Process
- If you have a rooted clone, skip to Aspect 7.
There are many methods for germinating seeds.
Germination features:
- Keep seeds moist – Once seeds are wet, don't let them dry out!
- Keep seeds warm – Optimal temperature is around 27°C (80°F).
- Germination time – On average, 2-3 days. Older seeds may need up to a week.
The simplest method – plant the seed in soil or coco. Learn how to germinate seeds in soil.
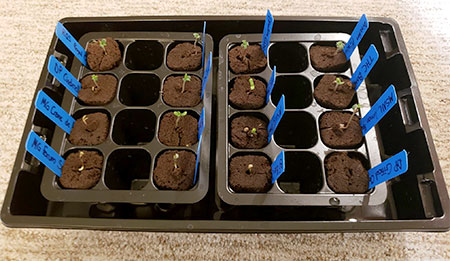
Another simple option is specialized starter cubes, such as Rapid Rooter. Keep them moist and warm.

Learn more about germination in Rapid Rooter.
The paper towel method is also popular.

Happy cannabis seedlings look like this:

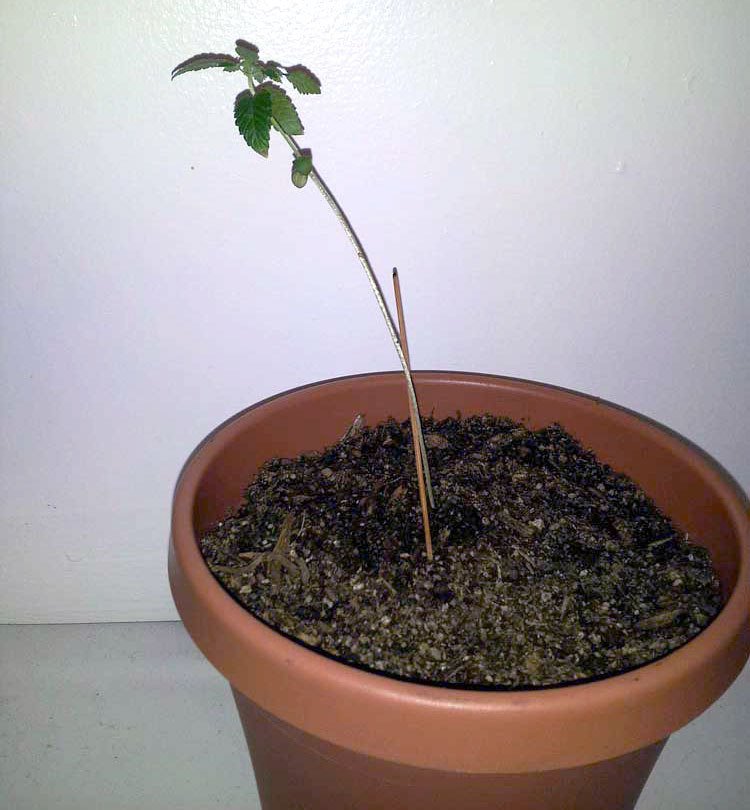
If seedlings are stretching, they need more light.
Tall, leggy seedlings need more light.
Aspect 7: Vegetative Stage – Plant Formation
When the plant grows its first "regular" set of leaves, it enters the vegetative stage. How long does the vegetative stage last?
In the vegetative stage, plants increase in size, and in the flowering stage, they form buds.
Young plants grow fastest when the temperature is 20-30°C (70-85°F). It's important to avoid extreme temperatures.
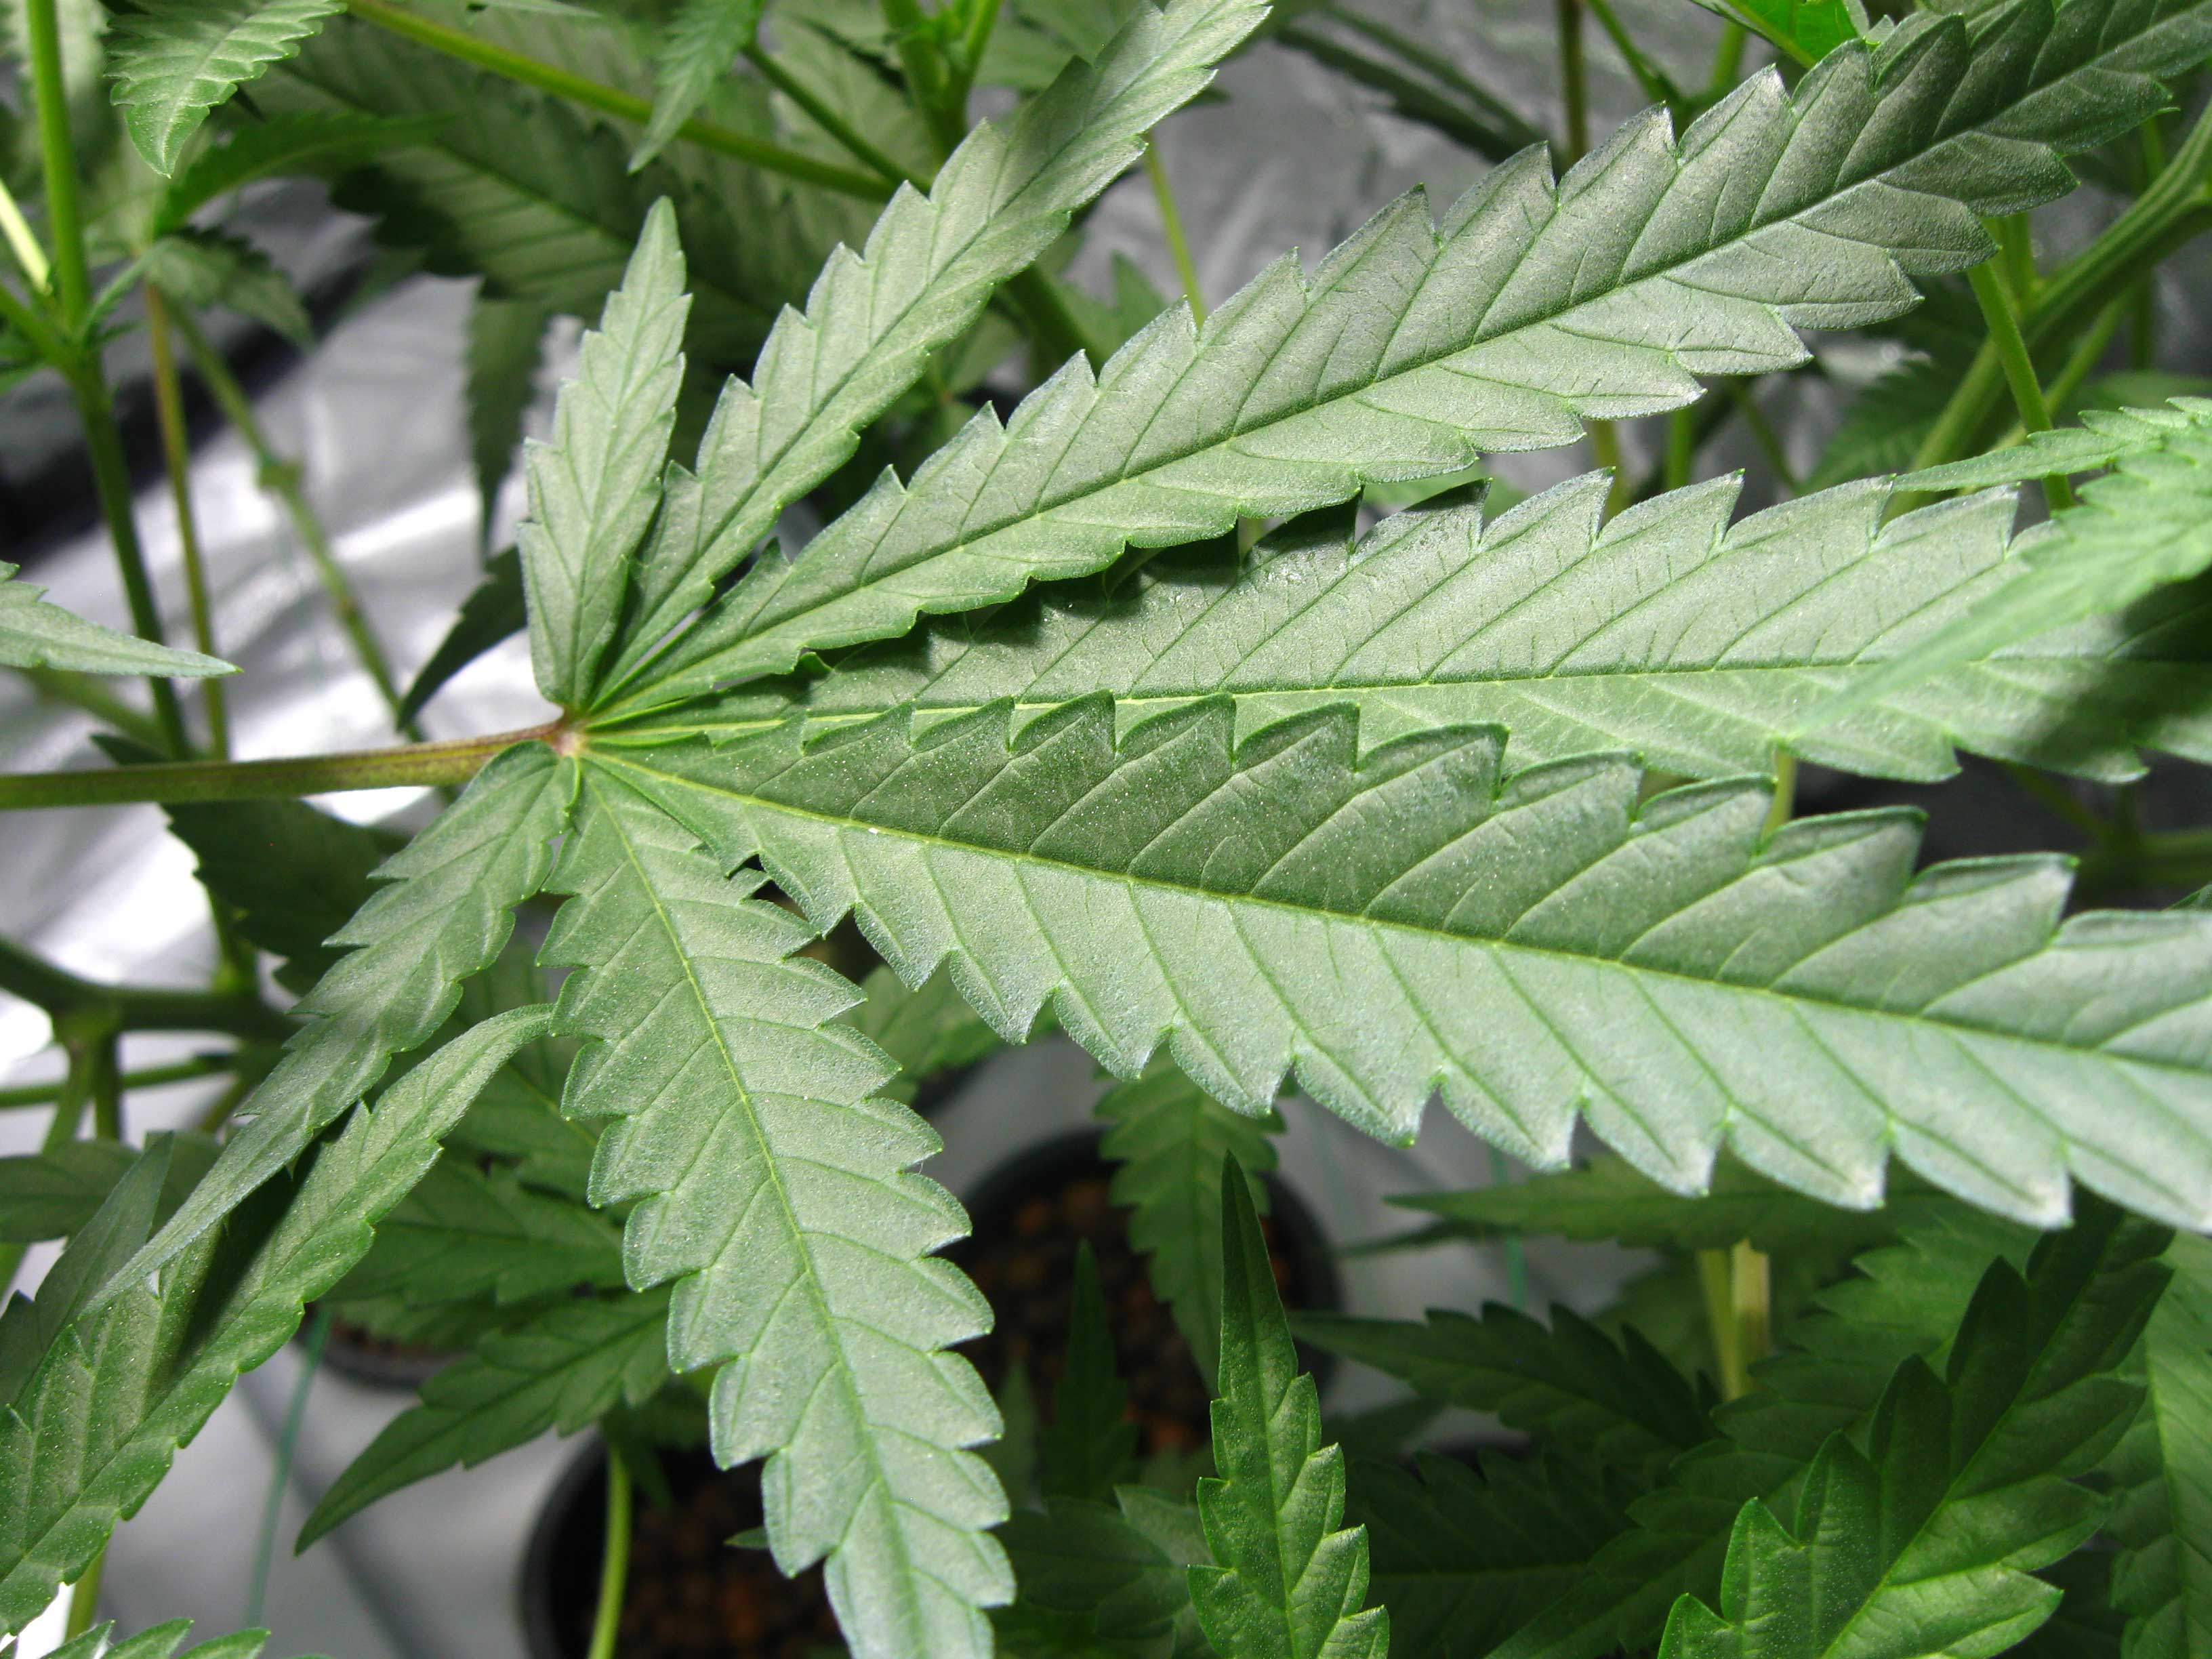
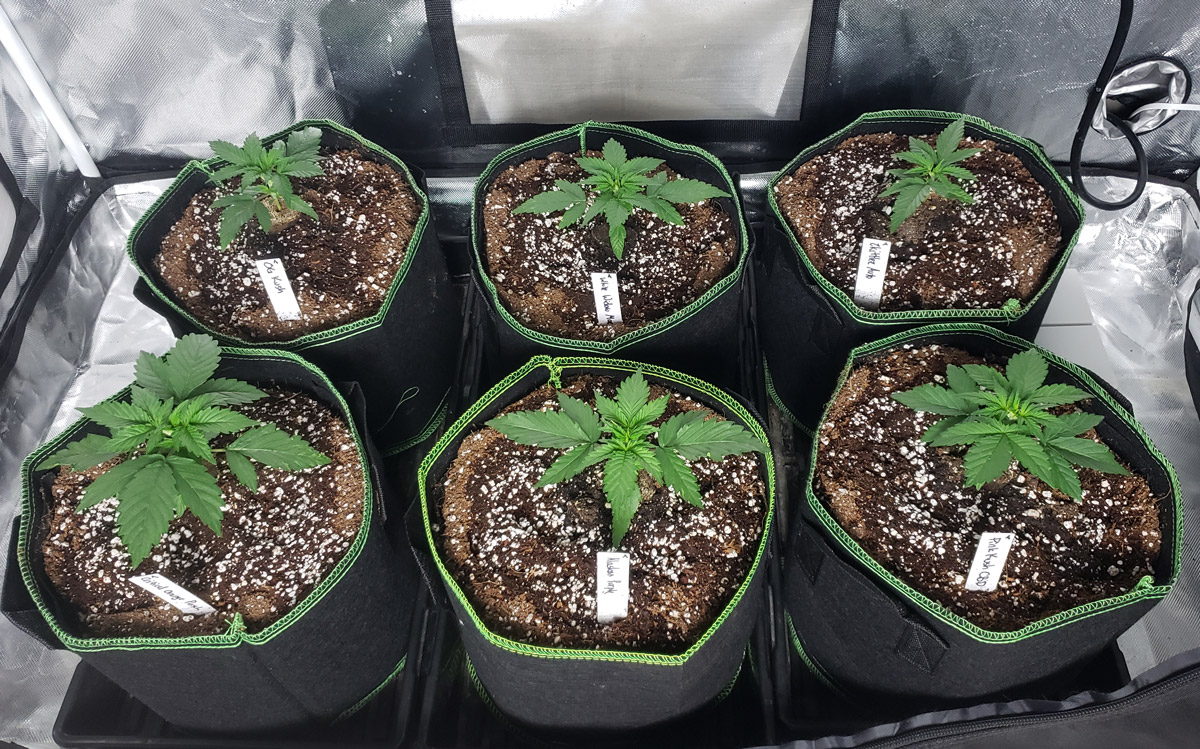
3-week-old cannabis plants in the vegetative stage.
How often to water cannabis plants?
At this stage, plants focus only on growth. Buds are not yet forming.
When fertilizing, start with half the dose to avoid burning young plants. Gradually increase the dose, observing the plant's condition. Pale leaf color is a sign of needing more nutrients.
"Emerald green" leaves are happy, healthy leaves.
At this stage, the sex of the plant cannot yet be determined. This will happen during the flowering stage.
Light in the vegetative stage
- Indoor: 18-24 hours of light per day. 18 hours is optimal.
- Outdoor: Maximum direct sunlight, at least from 10 AM to 4 PM.
How to control plant growth in the vegetative stage?
The size of the plant at this stage determines its final size. The flowering stage should begin when the plant has reached half of its desired final size, as it will double in size from there.
Aspect 8: Flowering Stage
This is the stage where plants begin to form buds. It lasts until harvest.
Buds start growing in the flowering stage.
Key moments of the flowering stage:
- 12-12 Light Cycle – For photoperiod strains, a 12 hours light / 12 hours dark cycle is set to stimulate flowering. Autoflowering plants don't require a cycle change.
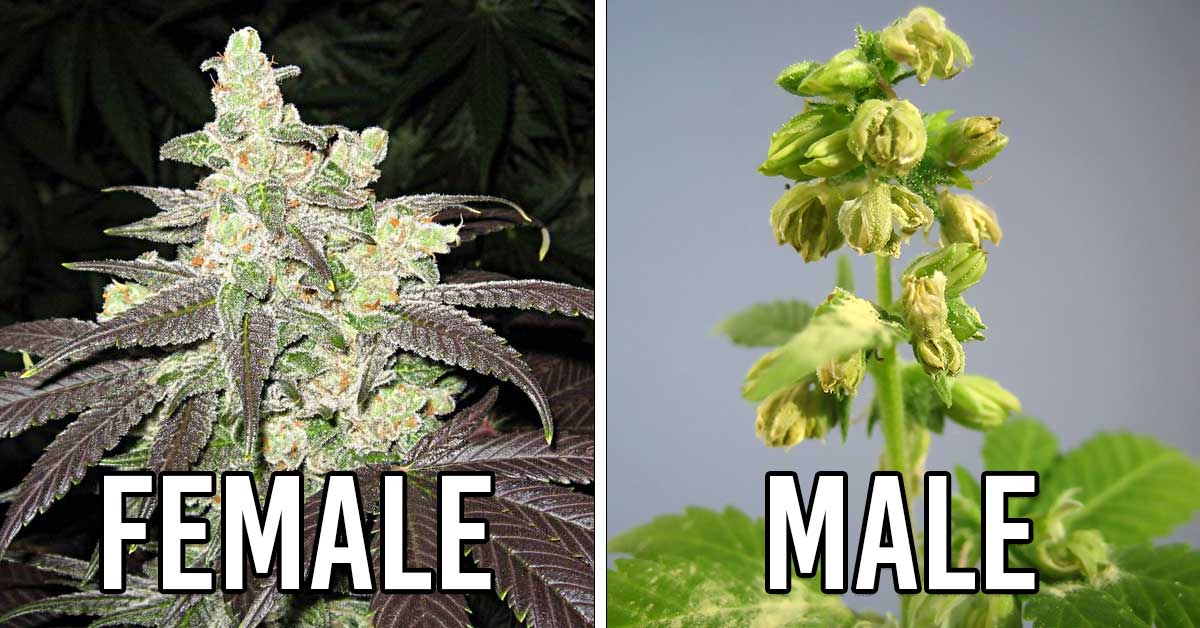
- Sex Identification – It's important to distinguish male and female plants. From regular seeds, about half will be male. This step is unnecessary when using feminized seeds.
- Removing Male Plants – Male plants pollinate females, leading to seed formation instead of buds. They should be removed.
The flowering stage is the plant's "sexual maturation" when it shows its gender.
A week or two after switching to the 12-12 cycle, plants show their sex…
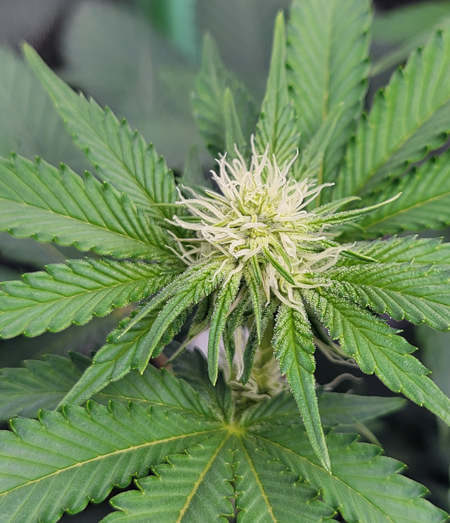
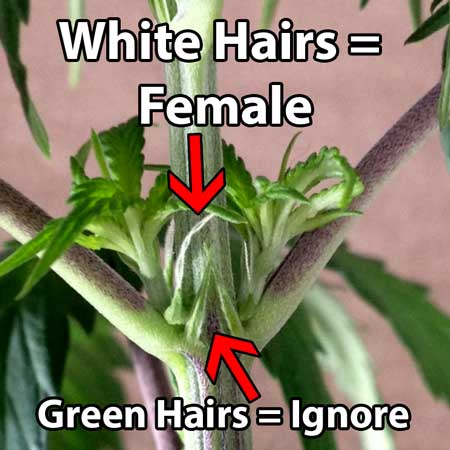
Female plants form white hairs (pistils). This means the plant will produce buds.
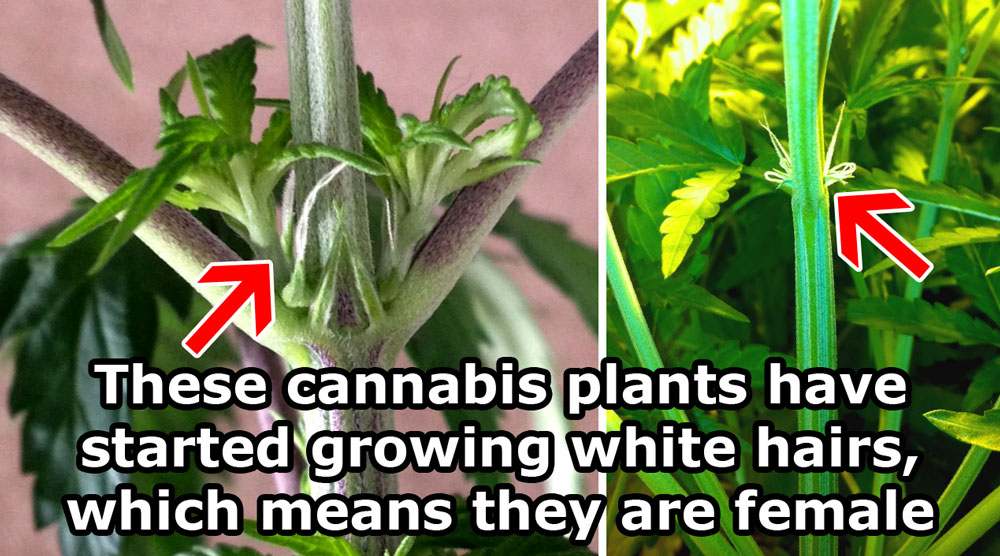
White hairs = female flowers.
Male plants form balls (pollen sacs). They do not produce buds and should be removed to avoid pollination.
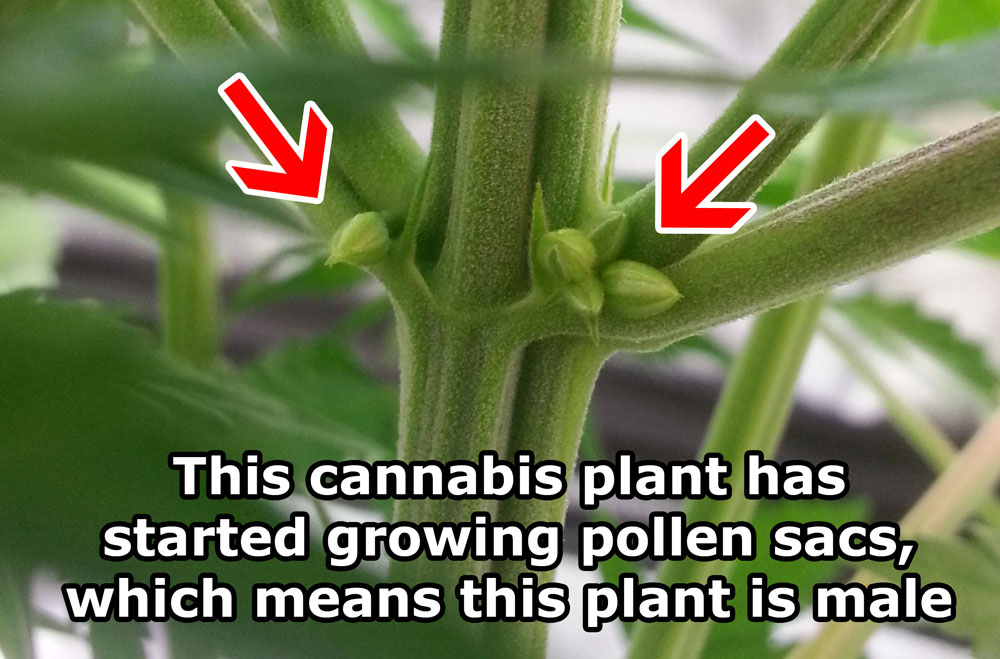
Learn more: How to determine the sex of a plant?
After removing male plants, females actively begin forming buds. At this stage, it's best to maintain a temperature of 20-26°C (70-80°F) for the best quality. Learn more about how to get top-quality buds.
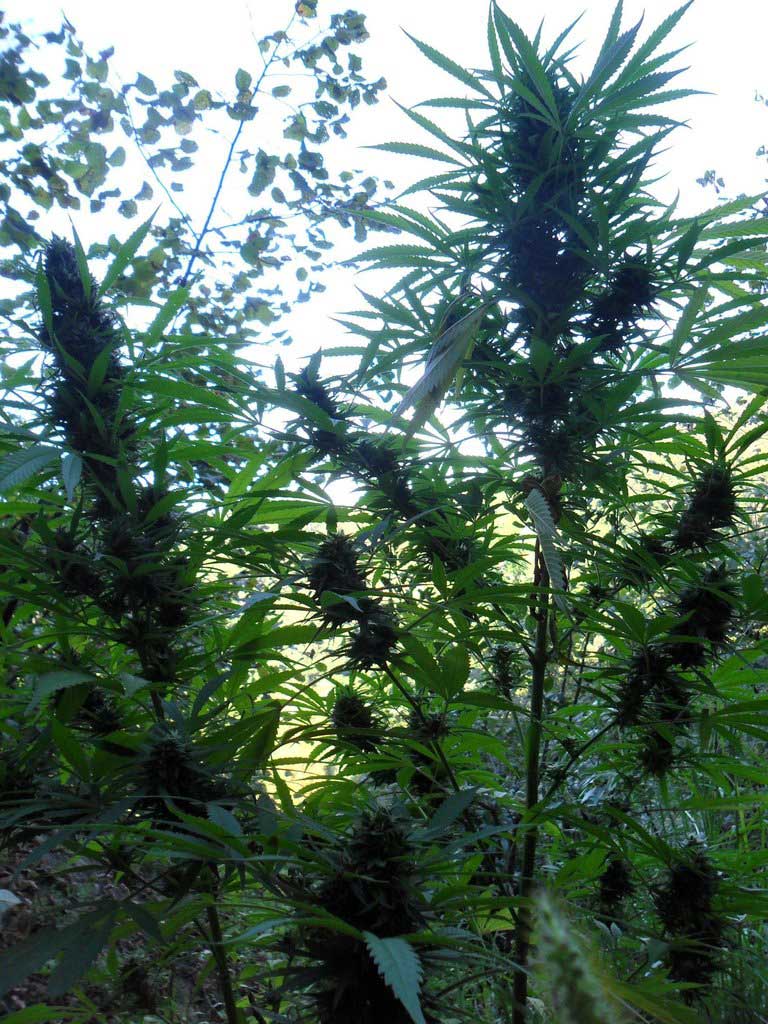
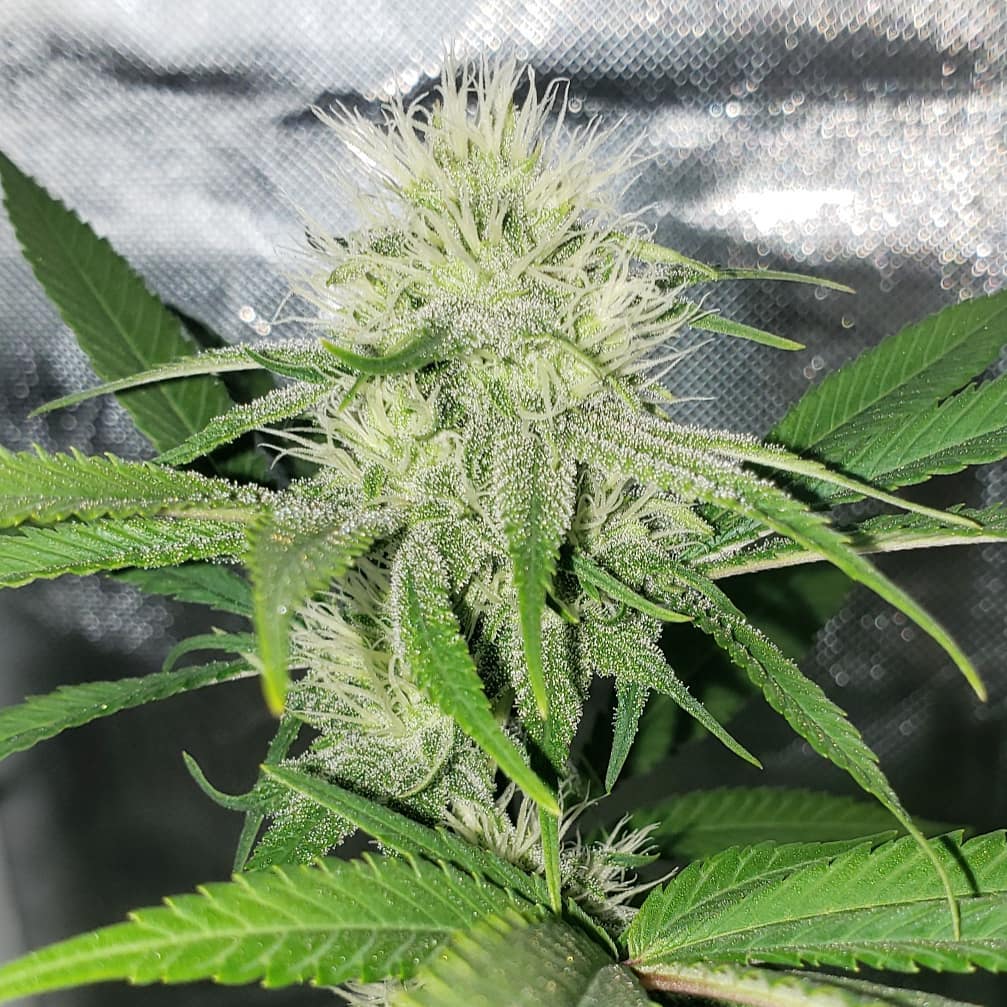
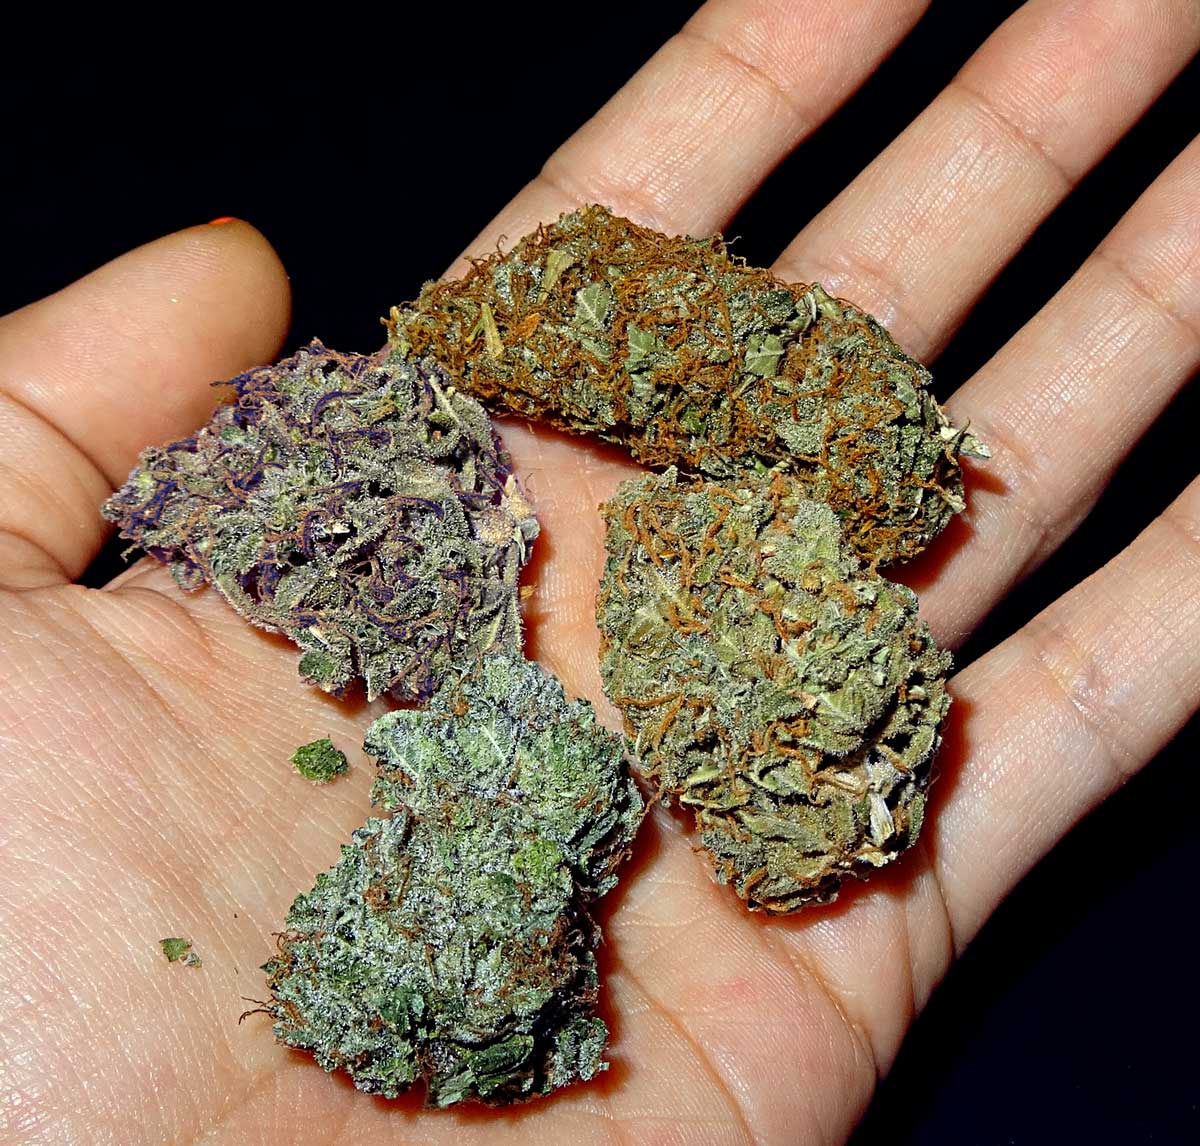
With good care and lighting, buds can become enormous, like the Ultimate Auto strain.
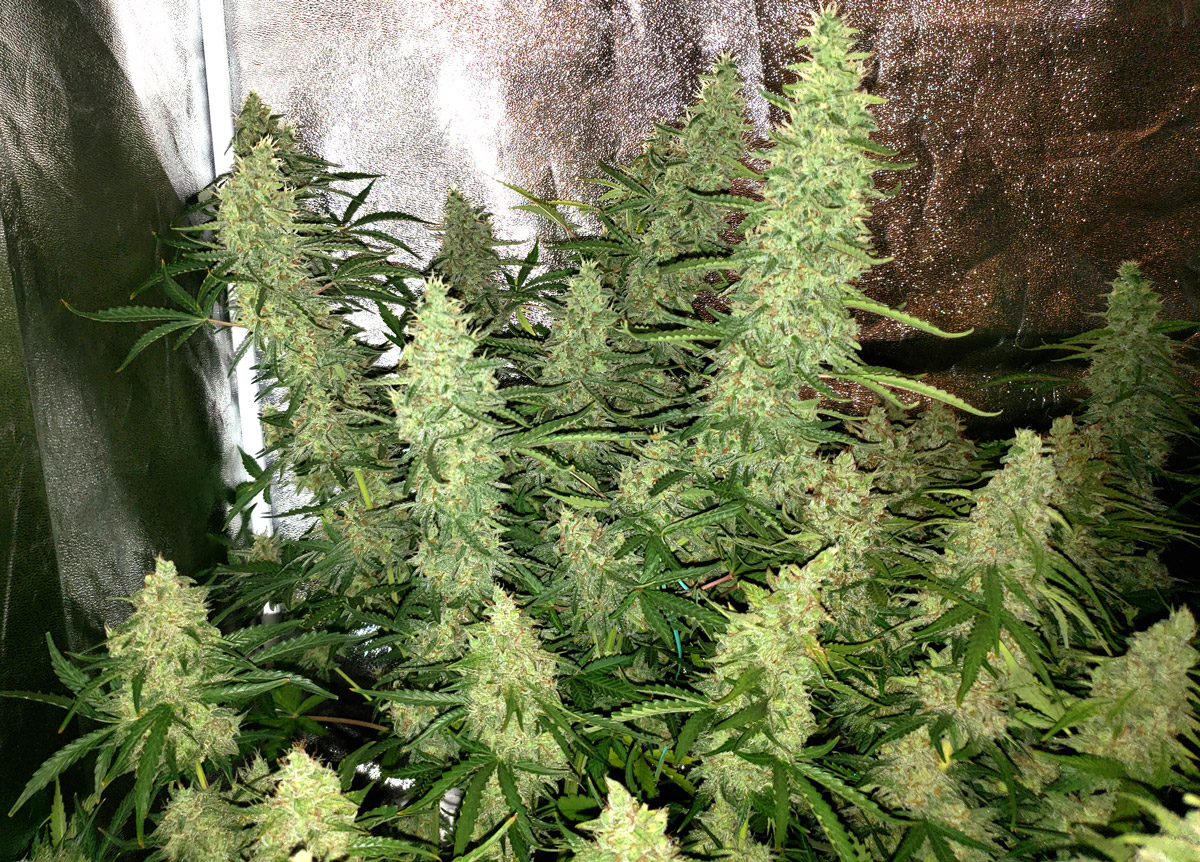
Soon, the flowering plants will be covered in thick, large buds!
Aspect 9: Harvest Your Weed
When to harvest?
- Buds stop growing new, white hairs. They become aromatic and plump.
- Hairs darken and curl.
- Low potency – If less than 65% of hairs have darkened, it's still too early.
- Highest THC level – Harvest when most hairs have darkened and buds look dense.
- Most relaxing effect – Harvest 1-2 weeks later for a "couch-lock" effect.
Too early – 4-6 weeks until harvest.
Ready for harvest – full potency.
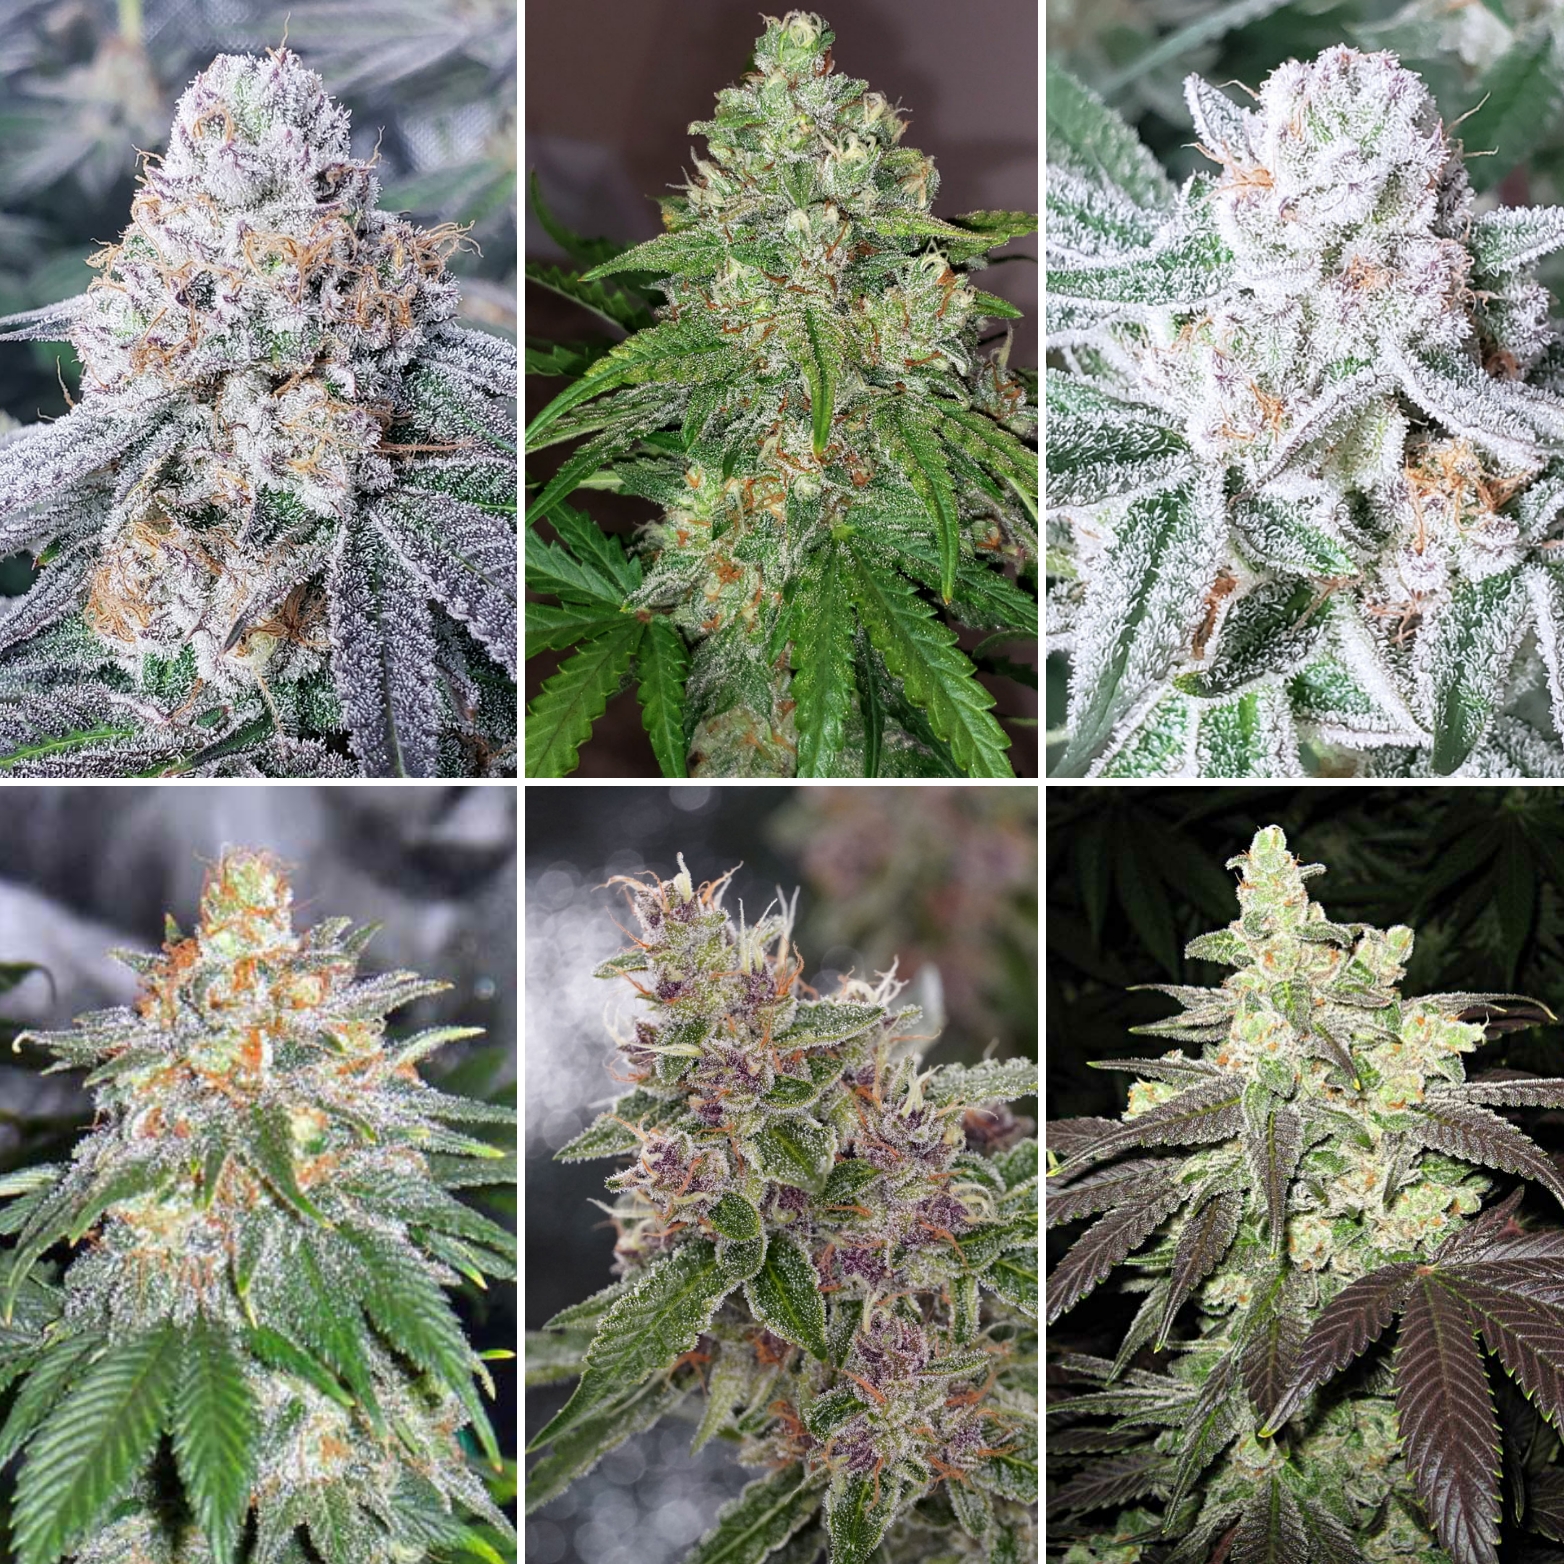
See more photos of buds ready for harvest.
For precise harvest timing, you can examine trichomes under a microscope.
Learn exactly when to harvest your cannabis.
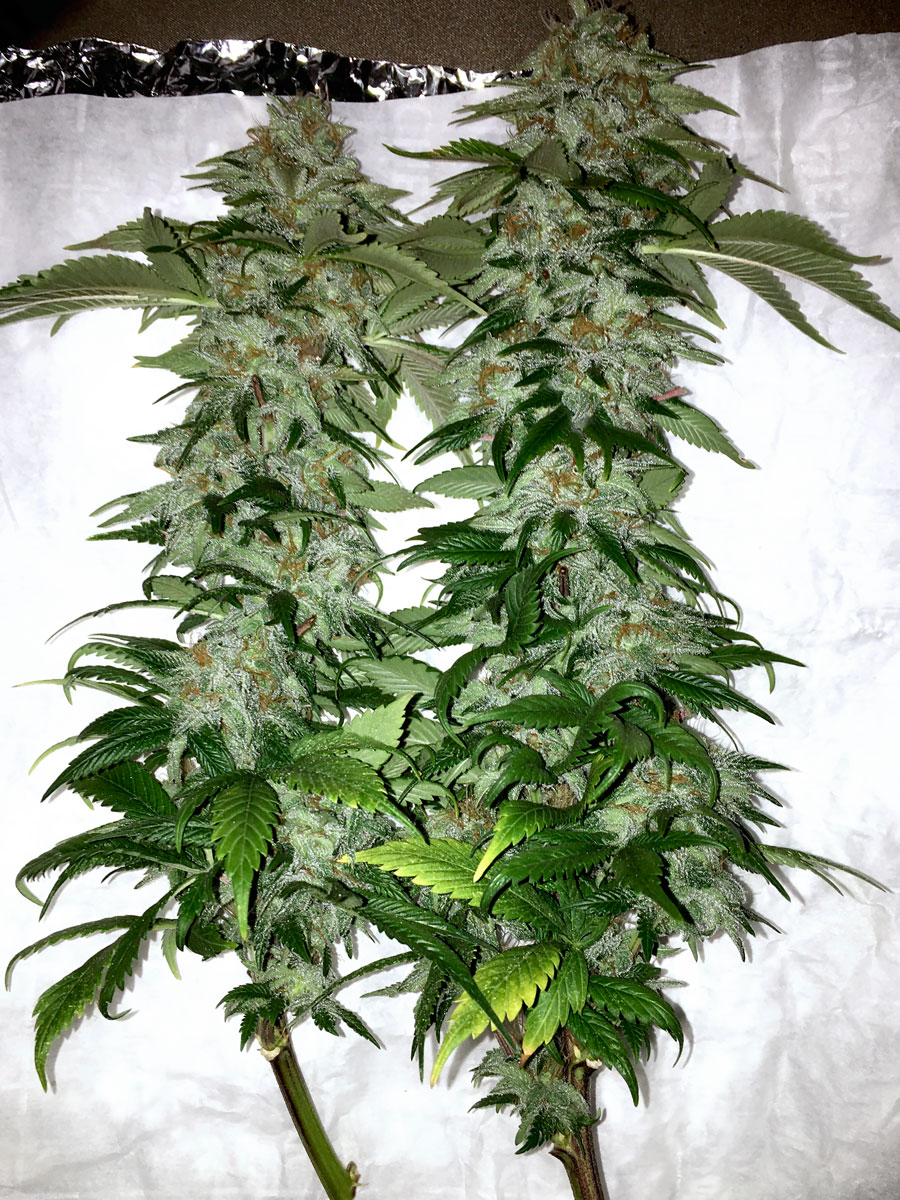
The harvesting process is simple: use sturdy scissors to cut the plant. Next comes trimming.
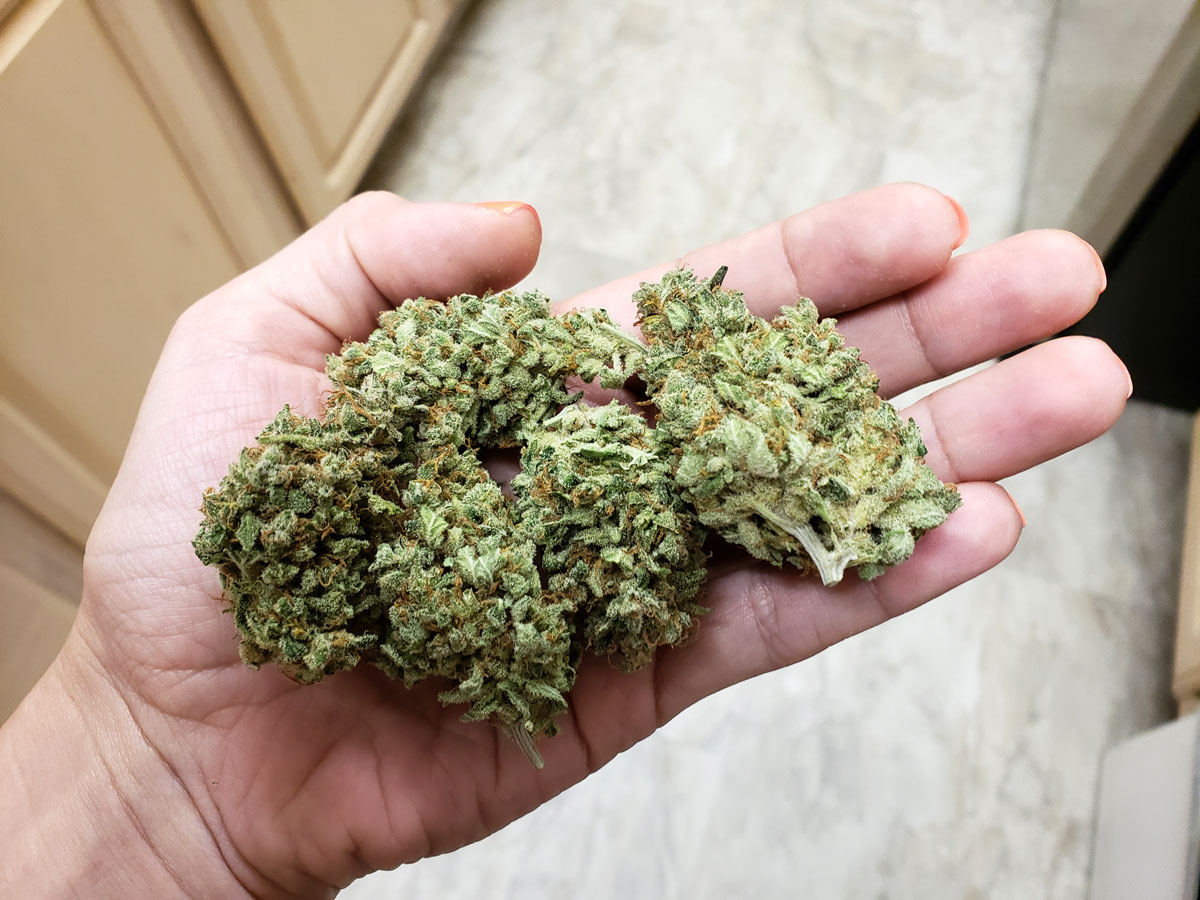
Thick buds, freshly harvested.
Aspect 10: Drying and Curing Buds
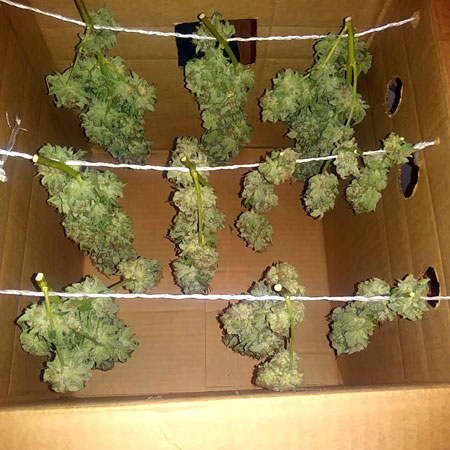
After harvesting and trimming, the buds are hung upside down in a cool, dark place with good ventilation for drying.
Learn how to perfectly dry and cure your buds.
Buds drying in a cardboard box.
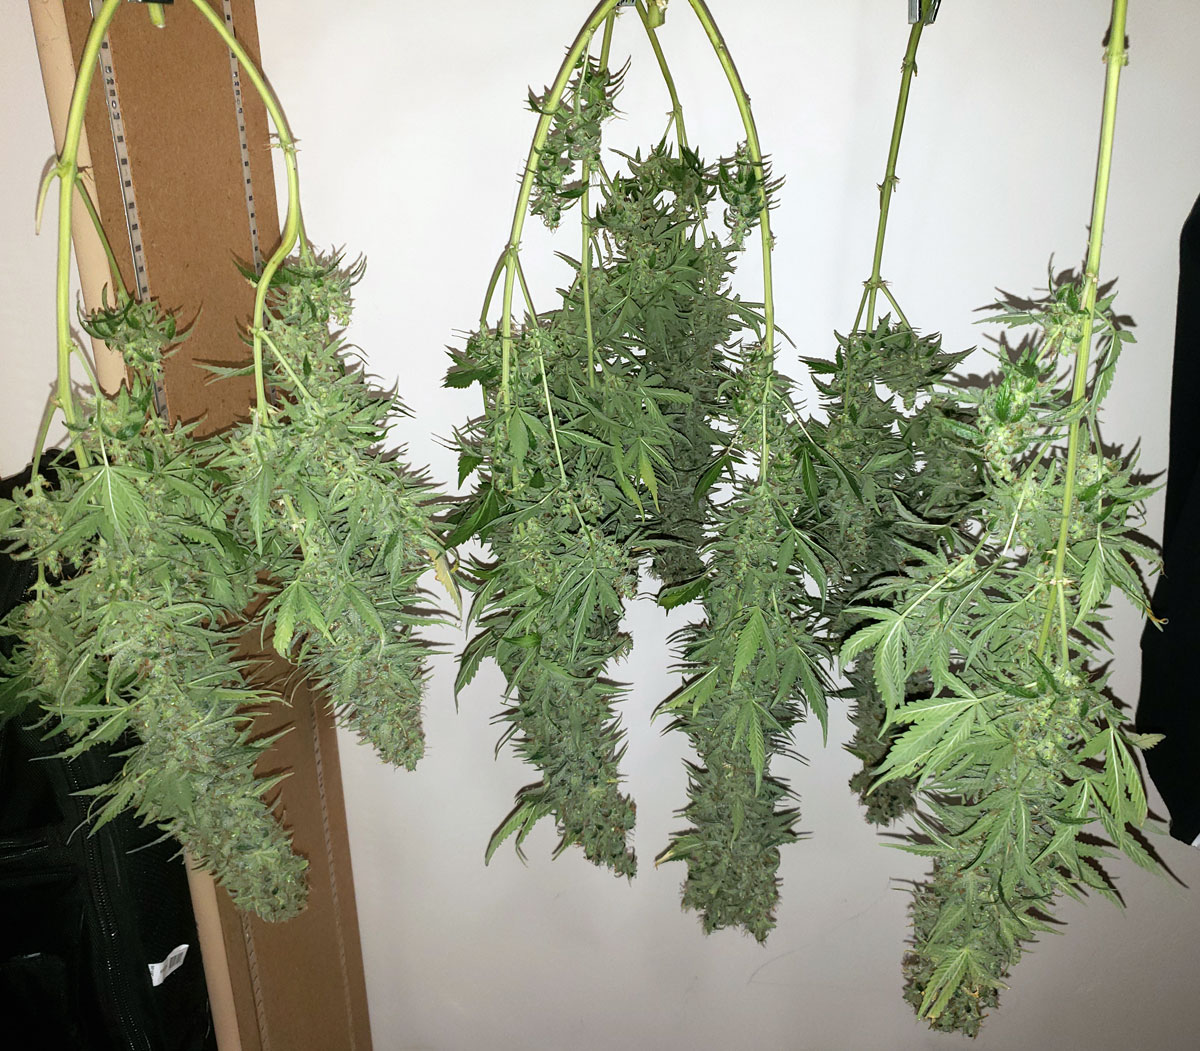
Buds drying in a closet.
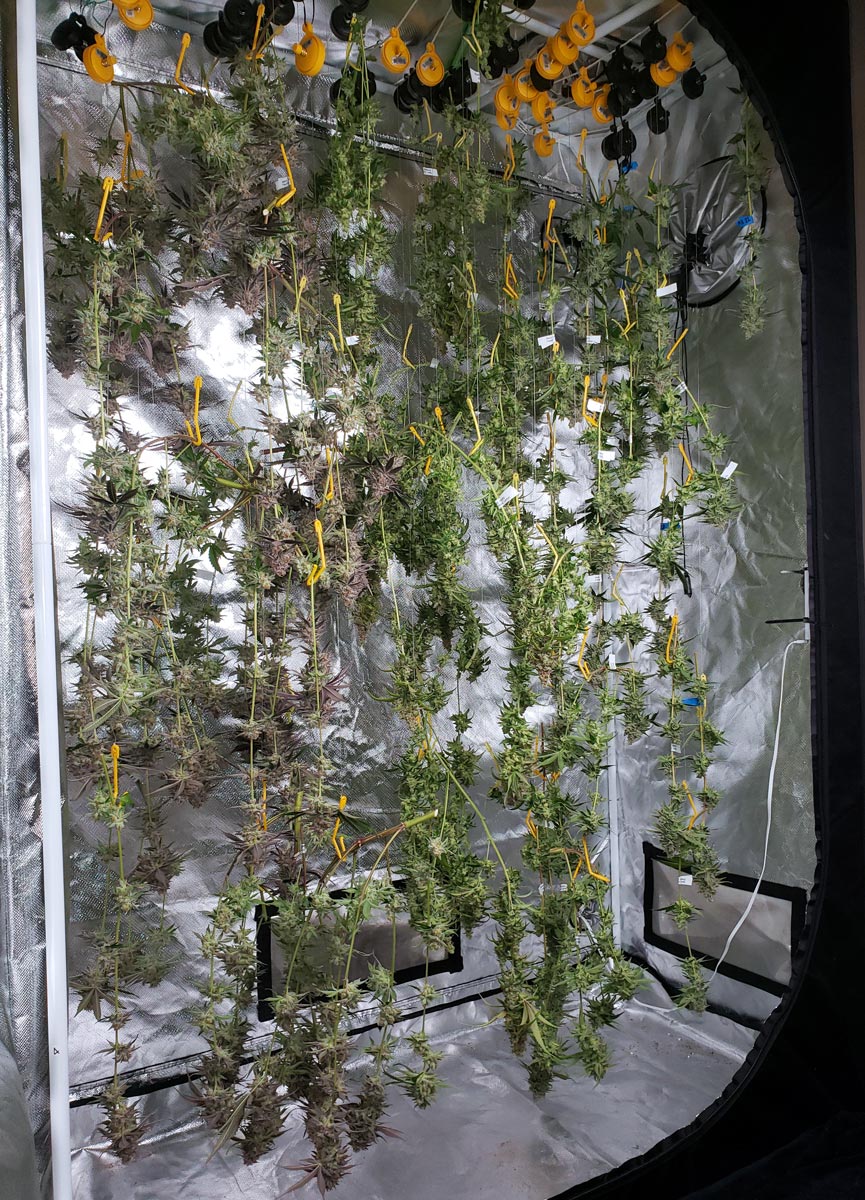
Buds drying in a grow tent.
Learn more about drying cannabis buds.
Dry the buds slowly and check frequently for mold.
When are the buds completely dry?
When the thin stems snap, and the buds easily break off the branch.
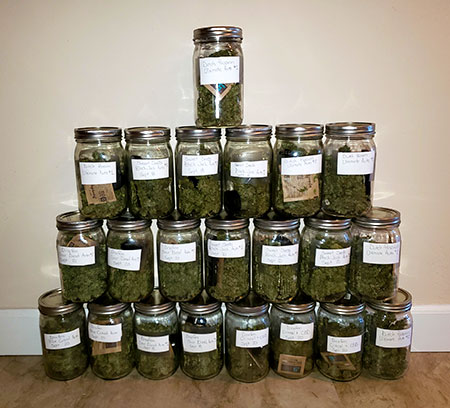
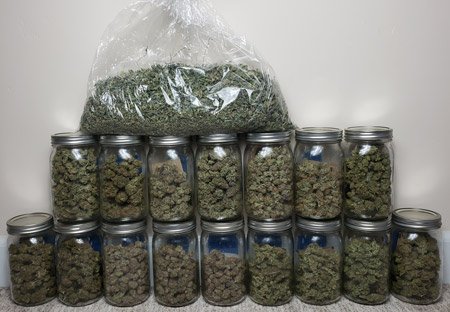
After drying, the buds are cured. They are placed in glass jars, filled 75-85% full, in a cool, dark place.
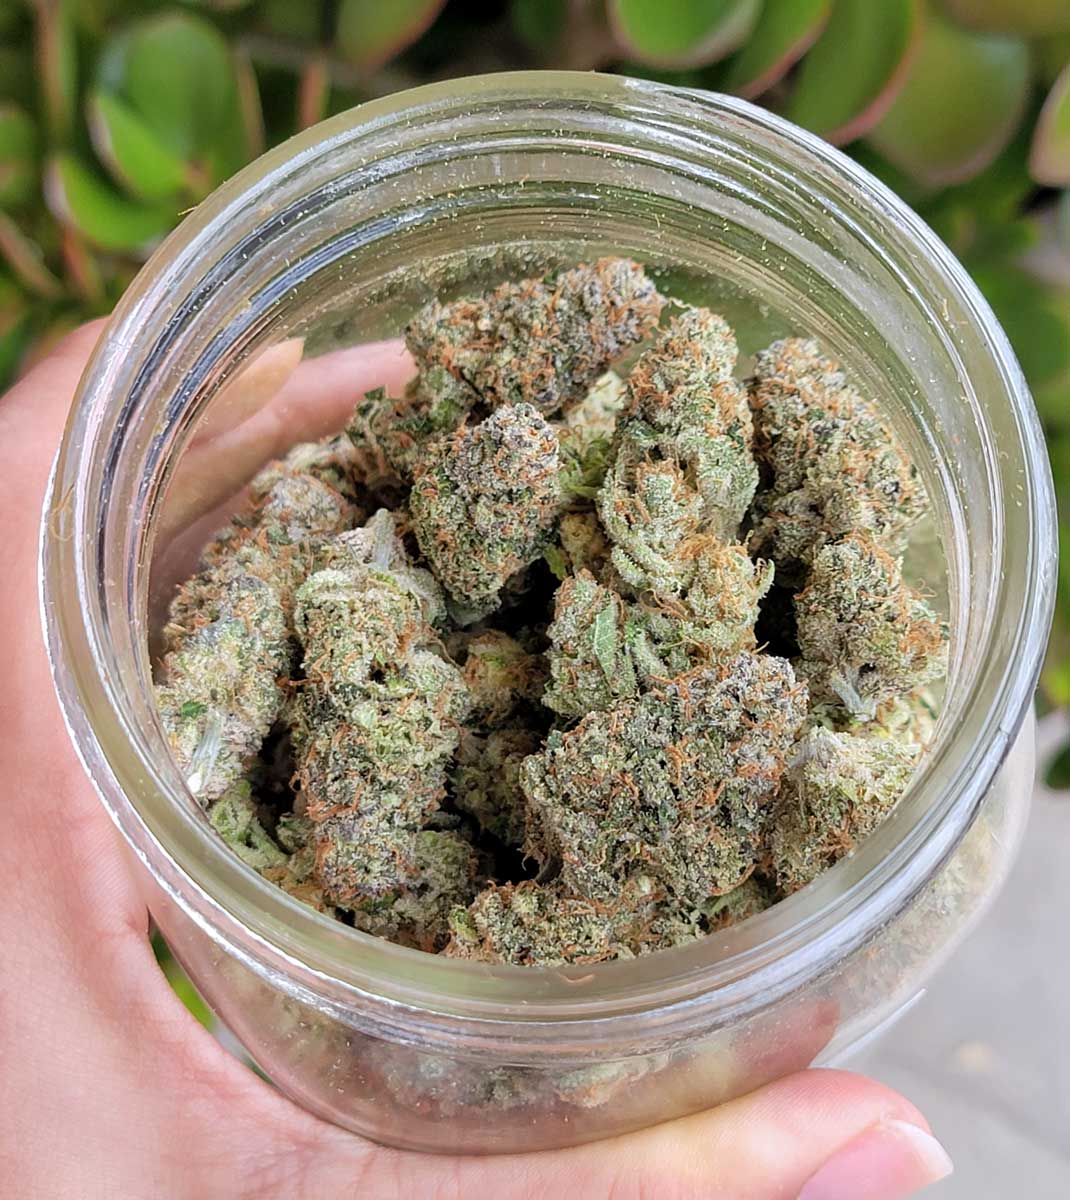
Harvest curing in jars.
For the first 2 weeks, jars are opened once a day to air out.
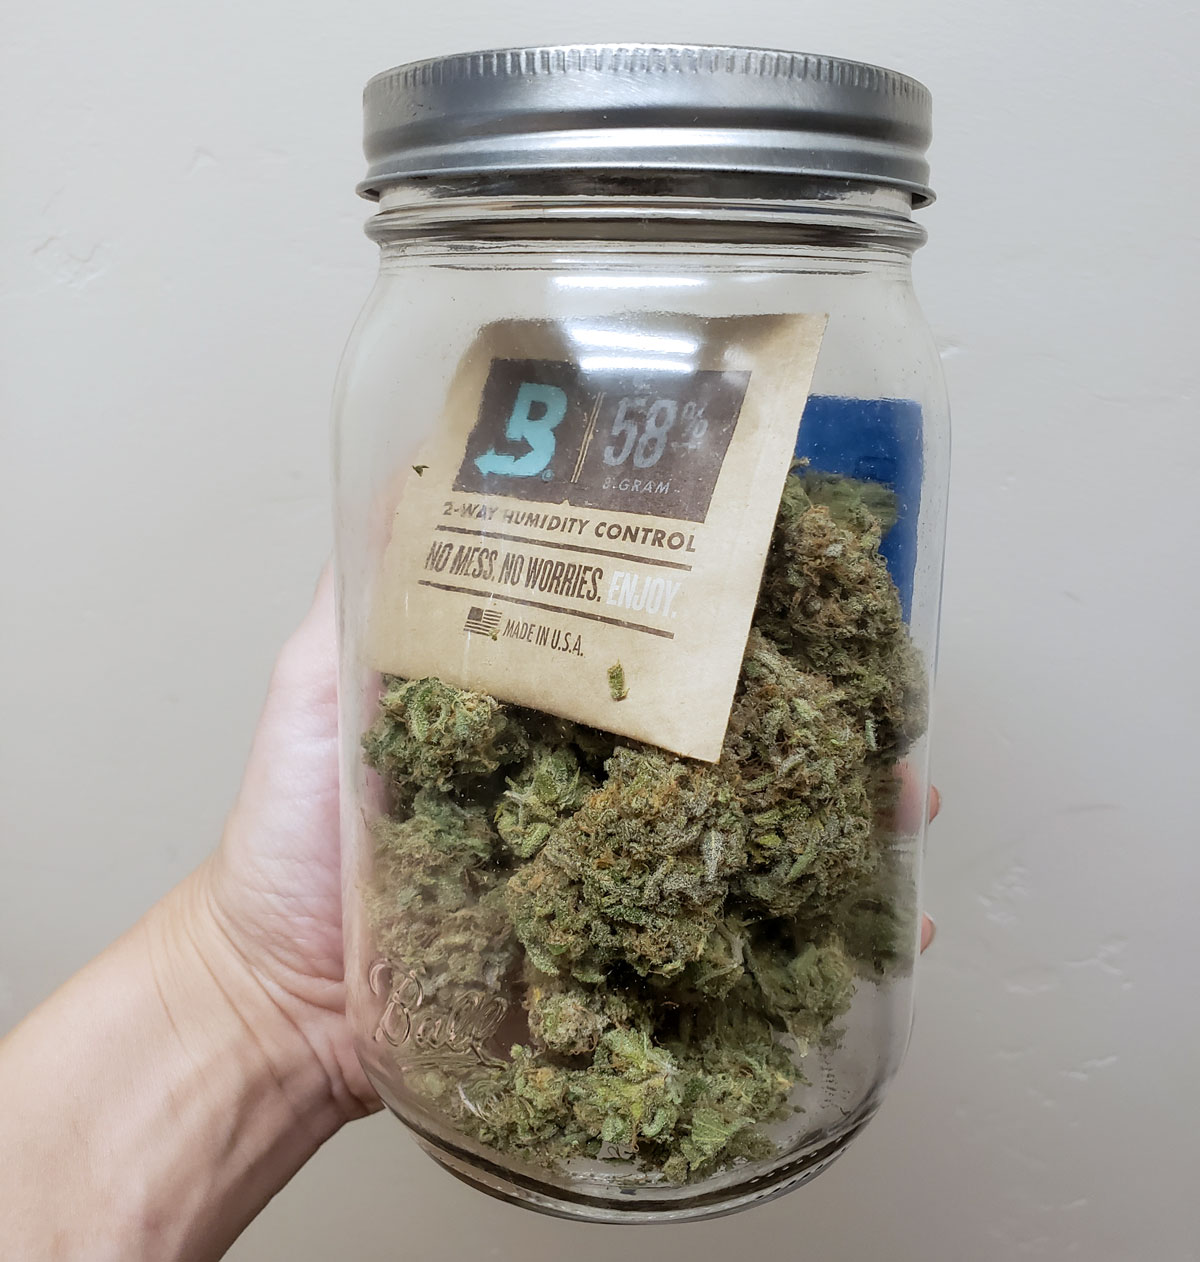
Special products, such as Boveda 58% Humidipaks, simplify the process by regulating humidity.
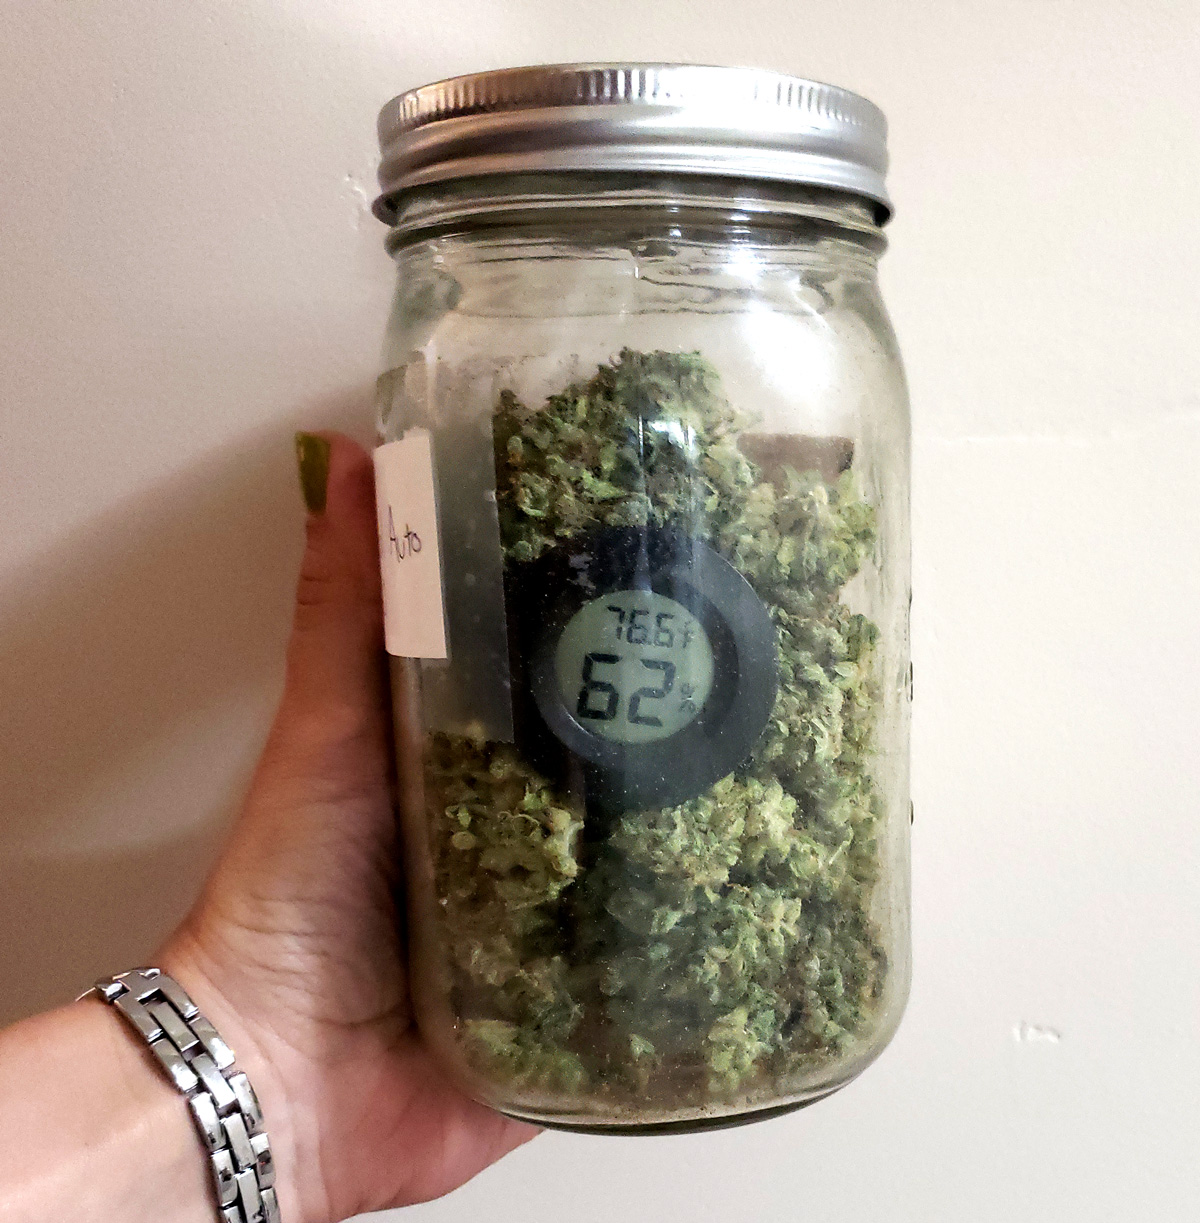
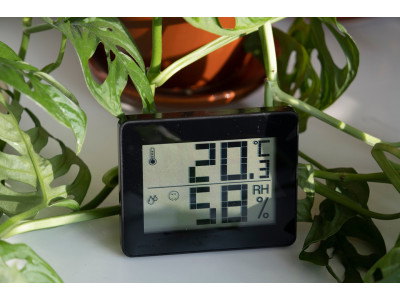
You can also use hygrometers to monitor humidity, which should be in the 58-62% range.
58-62% RH – ideal for curing.
After 2 weeks, jars can be aired out once a week. Curing lasts from 2 weeks to a month or more. Cannabis is believed to become more potent after a month of curing.
Read the full guide to drying and curing!
That's it! Understanding these 10 aspects is the key to your first successful harvest!
Additional Information
FOR THOSE WHO AIM TO DEEPEN THEIR KNOWLEDGE
Regarding LED grow lights:
Many LED models, especially older "blurple" and non-specialized ones, are not suitable for cannabis and yield poorer results in terms of yield and quality.
Avoid outdated "blurple" LED lamps.
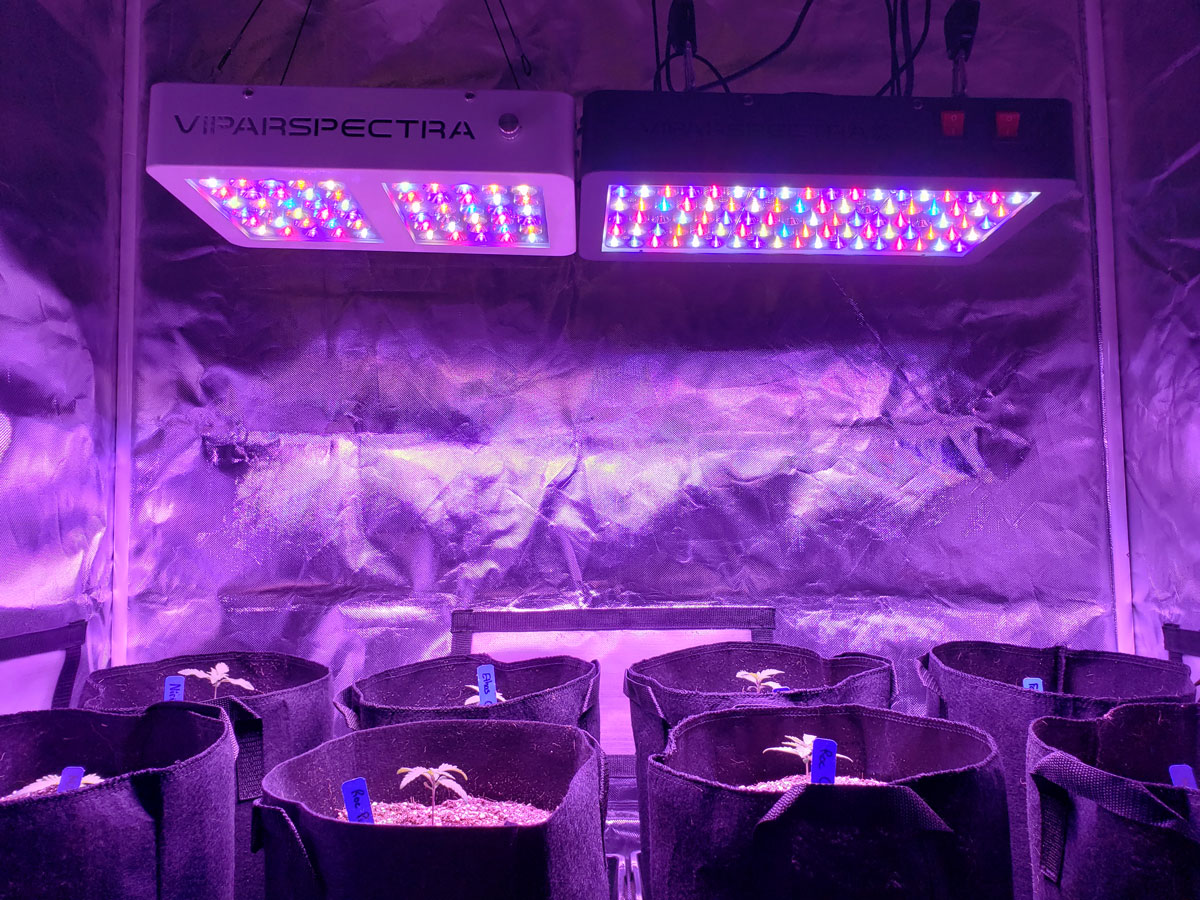
If you see someone successfully growing with a specific LED brand or model, it means the lamp works. The advantages of LEDs include low energy consumption, less heat, and ease of use.
Which LED companies can you trust?
Modern, high-quality LEDs for cannabis have a broad-spectrum light, often with a pinkish tint, not "blurple."
Go to…
Full Basic Guide: Cannabis Growing Basics
How Long Does It Take to Grow Cannabis?

Write a comment